They were so easy and fun, so I thought I would share a tutorial on how to make them. I made mine from waxed table cloth on which raw edges can be left exposed without problems, but you could also use any kind of vinyl, felt or felted wool.

My pouches will be holding end-of-the-party sweets and this size fits that purpose well. You can make yours any size you want.

What you’ll need
Waxed table cloth or other material that will not ravel: one colour for the body, another for details
Zipper
Teflon foot (makes a lot of difference when stitching waxed cloth or vinyl)
Paper clip or other clip (this is rather slippery material)
What you’ll do
Main fabric:
Body: Cut two squares, mine were 5”*5”.
Tail feather: Cut a strip approx ½” wide and 3-5” long
Detail fabric:
Head feather: Cut a narrow strip (approx ¼” wide) and 2-2 ½” long
Beak: Cut a triangular shape any size
Eyes: Cut two circular shapes any size
A 1/4" seam allowance is not crucial on these birds. The width of your zipper foot may be different than mine, so you may need to adjust your needle position differently than I have done to get an appropriate seam allowance.

Place one square on top of zipper aligning the edge against the coil. Make sure you leave a 3/8"-½” gap from the top edge to the metal clip on the zipper.

Attach your Teflon foot if you have one, and move your needle position as far left as you can. Stitch a seam all the way down with the edge of your presser foot following the coil.

Adding the head feather.

Fold it in half and place it covering the metal clip on the zipper. Use a clip to hold it in place. This is the top side of the piece.

Place the second square on top of the zipper aligning the top edges.

Move your needle to the farther right position and stitch a seam all the way down.

You project will now look like this.

Adding the eyes. Place the eyes where you would like them to be. You can glue them in place, stitch them down by hand or machine, or add buttons or beads.

I used a decorative stitch on my machine.

Note that the eyes go in this direction. Attach the second eye the same way as the first.

You project will now look like this.

Adding the tail feather. Open up the zipper approx 1”.

Fold the tail feather in half wrong sides together, and place it on top of the zipper, aligning the raw edges.

Stitch over the edges while you pinch the zipper coil together so that you get as little gap as possible. I also backstitched. This is the bottom side of the piece.

Adding the beak. The triangular beak goes on this (top) side of the piece.

Fold the squares right side together and with the zipper on the far edge. Slip the beak between the squares with the point facing inwards.

Use a clip to hold in place.

Now you'll be stitching two sides - the top side with the beak, and the adjoining side. I tried a few ways to do this, and this way worked best for me. Align the bottom corners and move your needle to the left position. Stitch along the side to the corner, but stop a little short of the edge where you will turn to stitch the next (top) side. Stitch the top side until you get to the zipper.

When you get to the zipper, stitch as close as you can to the metal clip without running your presser foot over it. I had to stitch slightly diagonally to be able to stitch all the way to the edge and backstitch.

Now your project looks like this with an opening at the bottom.

Fold the opening like this so that the seam meets the zipper coil.

Align edges and use a clip to hold in place.

Make sure that the zipper is open.

Move needle to the right, and stitch from edge to edge,

backstitching at the beginning, over the zipper, and at the end.
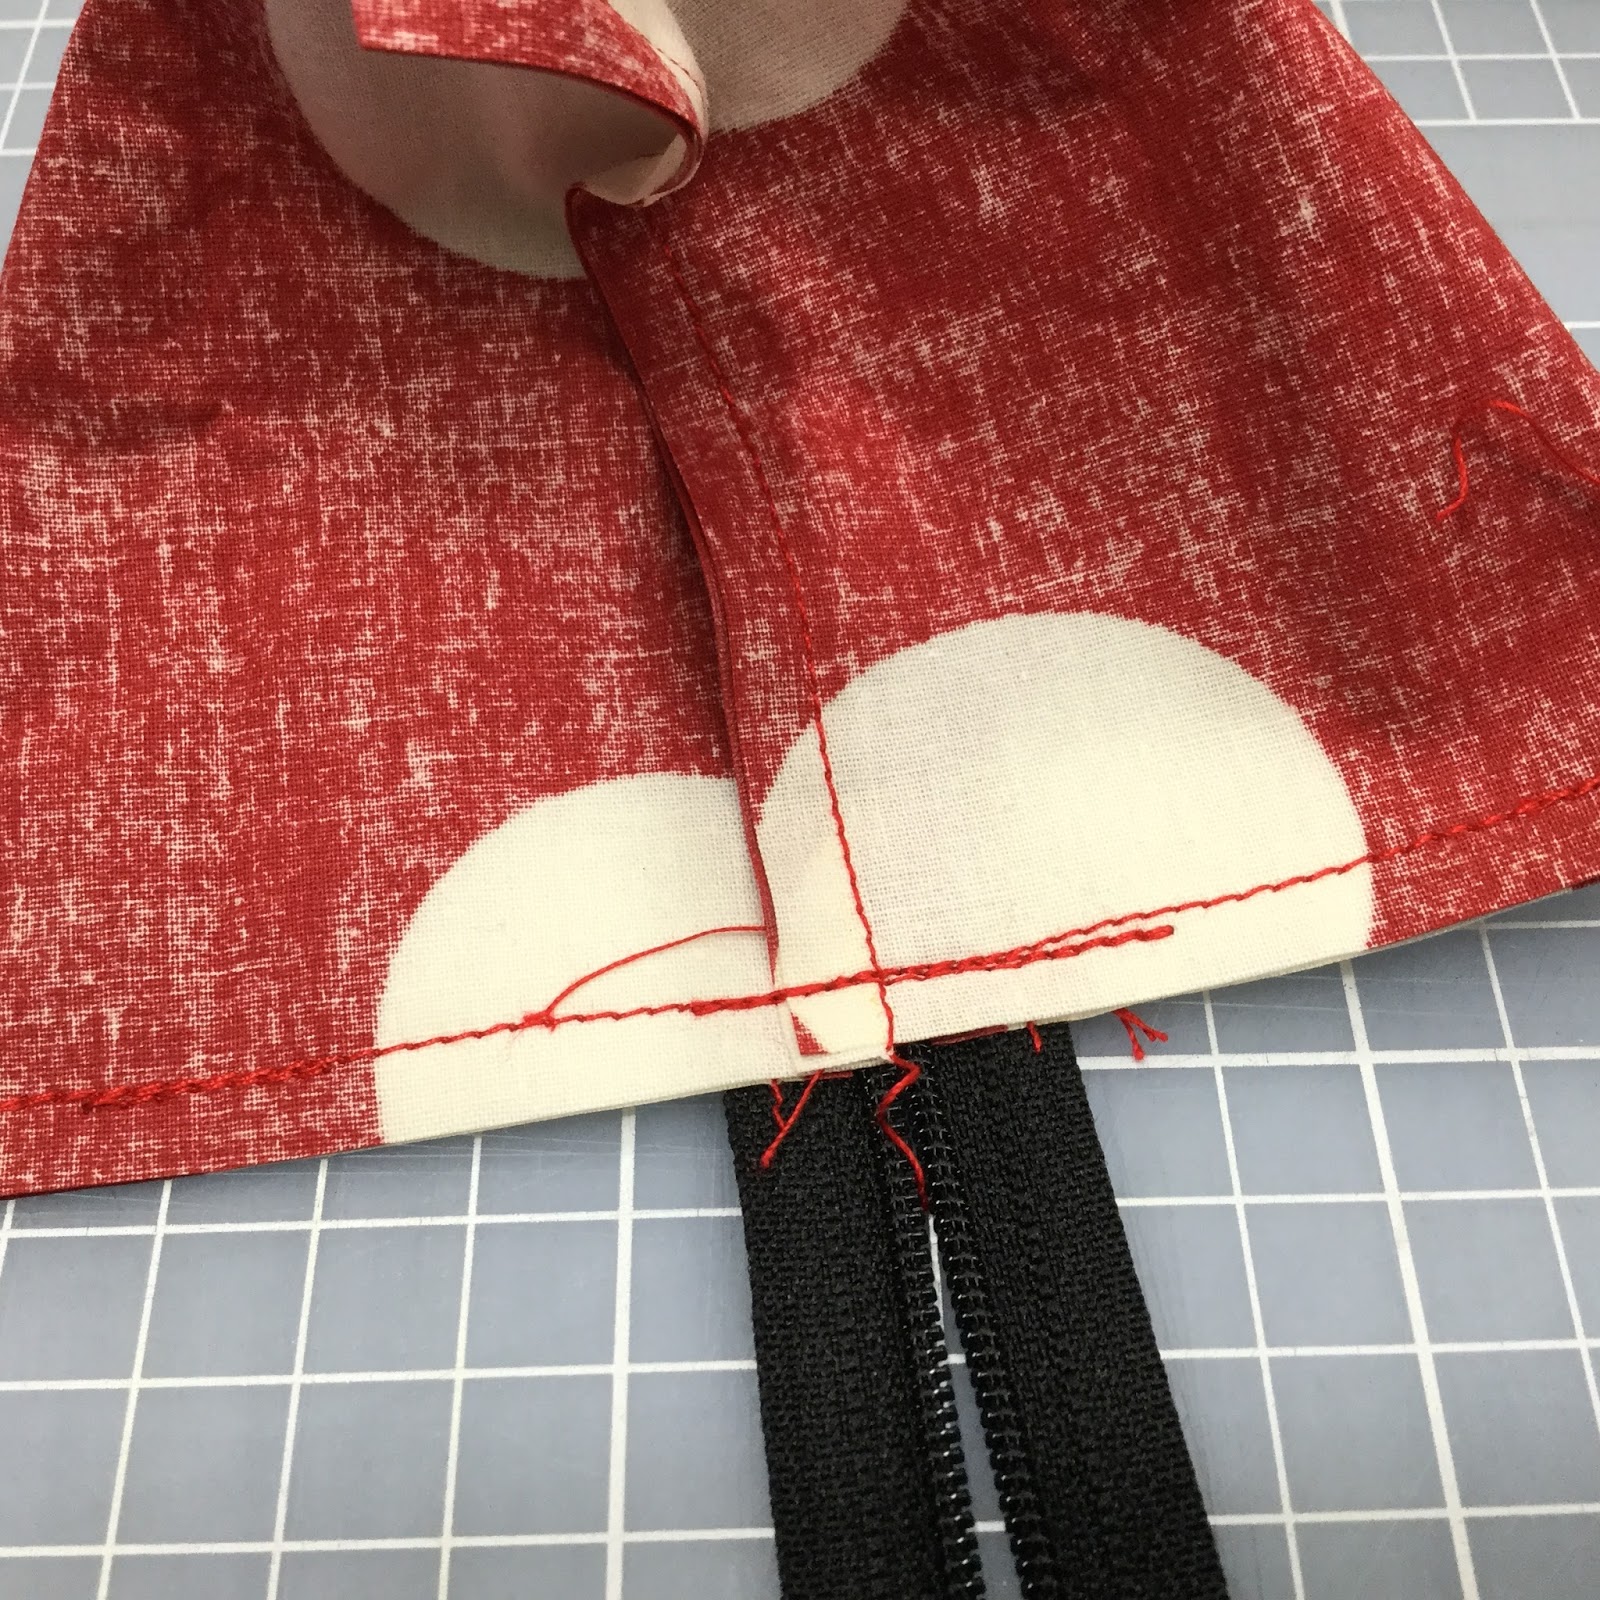
Trim off excess zipper.

Open the zipper all the way, turn inside out, and press out the corners with a pointy object. Done.

Head feather

Tail feather

Eyes and beak; Happy bird!

My dozen all have different coloured zippers from this lot.

This is my prototype; I had to make him to see the size, and where and how I should add the feathers. I’m keeping him even though he has none. They eyes are bigger and were attached with straight stitches which was more time consuming.

Happy Bird sewing and thanks for stopping by!