

Use fleece for backing your quilt; I use it on all our “cuddly quilts”. I don’t use additional batting as we find the fleece warm enough for our use.
You will need a piece of fleece that is larger than your top on all sides. I usually let the width of the fleece determine the size. An extra 8”- 10” will give you a nice, wide fleece frame; but it will work with as little as 1” – 2” extra which will give you more like a fleece binding.
Baste the layers (I use pins or spray) but make sure you don’t stretch the fleece during the process (don’t ask how I know).
Quilt as desired; I usually use the walking foot to make sure the layers are fed properly through the machine. Tying also works very well. Make sure all your edges are secured to the fleece, or secure them by stitching an additional seam.
The quilting lines look lovely on the back

and so does the excess fleece.

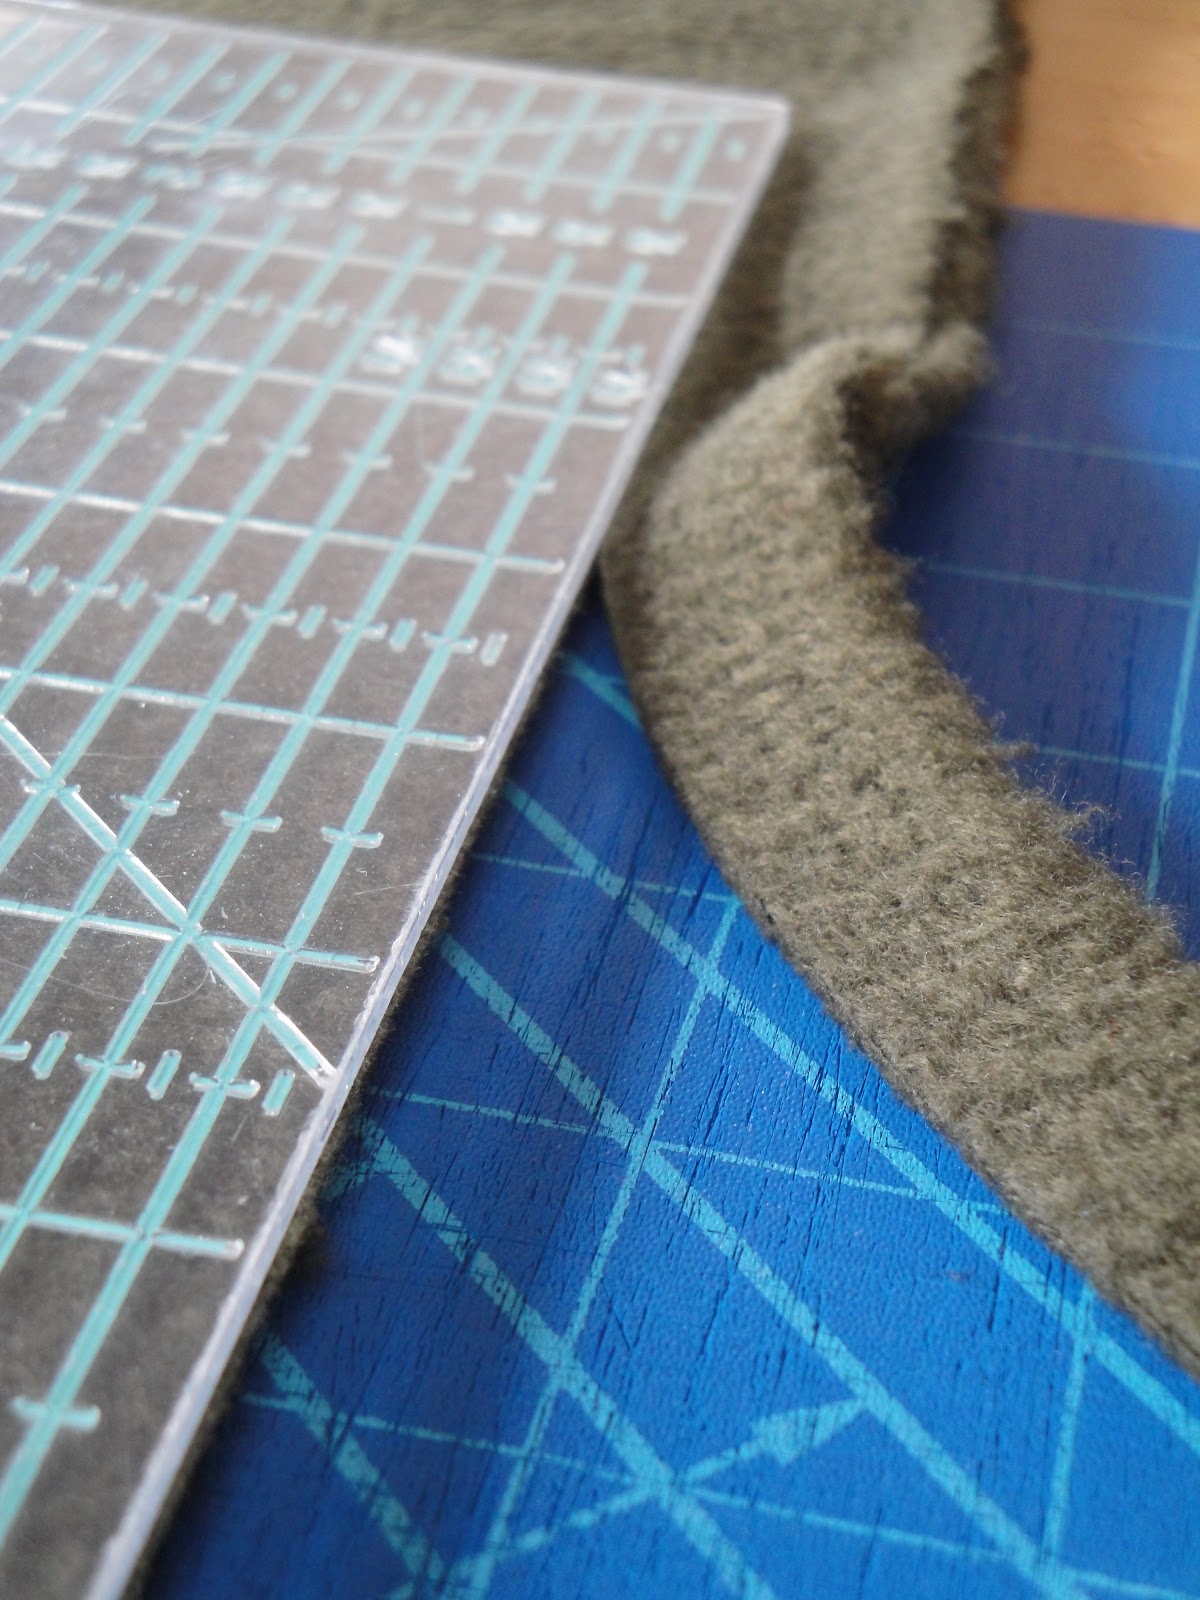
Measure the width of your narrowest side

making sure all the selvages will be chopped off.

Marking this width with sticky notes will prevent mistakes (don’t ask how I know).

Trim all 4 sides to the desired width.
Bring all threads to the front and tie them.

Cut them off leaving an inch or so.

Fold the fleece over the edges of the top with an approx ¼” overlap. Use a lot of pins to secure.

I used to spray baste them with this little spray can;

just a narrow line of glue along the edges of the top.

However, I found myself adding pins here and there anyway, so I dropped the spray. Try it if you like; it’s much quicker.
Fold the corners like this

then the edges over

to make a mitered corner.

Finger press (red line) and chop off the excess fleece triangle

just leaving a approx ¼” seam allowance.

Pin the corners; both edges

and the mitered folds together.

Start stitching around the fleece edge using a walking foot. I stitch at least 3 seams all the way around; the first, one close to the edge and one on the other side of the first.

Smooth out any bumps on the way by lifting your pressing foot with the needle down and adjusting any excess fleece. You can cut off little bumps and pleats that get caught in the seam afterwards; fleece is very forgiving.


See?

Stitch the mitered corners by hand.


Finished! And in no time at all!
Thank you for this, I really needed a tutorial on using fleece as back and binding, and yours is very clear.
ReplyDeleteThank you for a great tutorial. I will try to make finished a quilt I have lying around. Have a nice weekend ;)
ReplyDelete