

Make a fun patch to cover up a hole and make a little one happy at the same time. Adjust the size of the patch as needed.
What you’ll need
A hole - like on this much loved pair of sweat pants
.JPG)
Black fabric - or whatever colour you’d like, pink would look cute
A piece of pirate fabric – or you can free motion embroider or draw the image with a white fabric marker instead if you like.

And what you’ll do
Draw a pirate hat on the right side of the black fabric using a light marker. Make sure it will cover the whole hole.

Fold the fabric so you have two layers. Set your machine to a narrow zigzag stitch and stitch around the hat.

Iron fusible to the back of the pirate image and cut it out. Place onto the hat
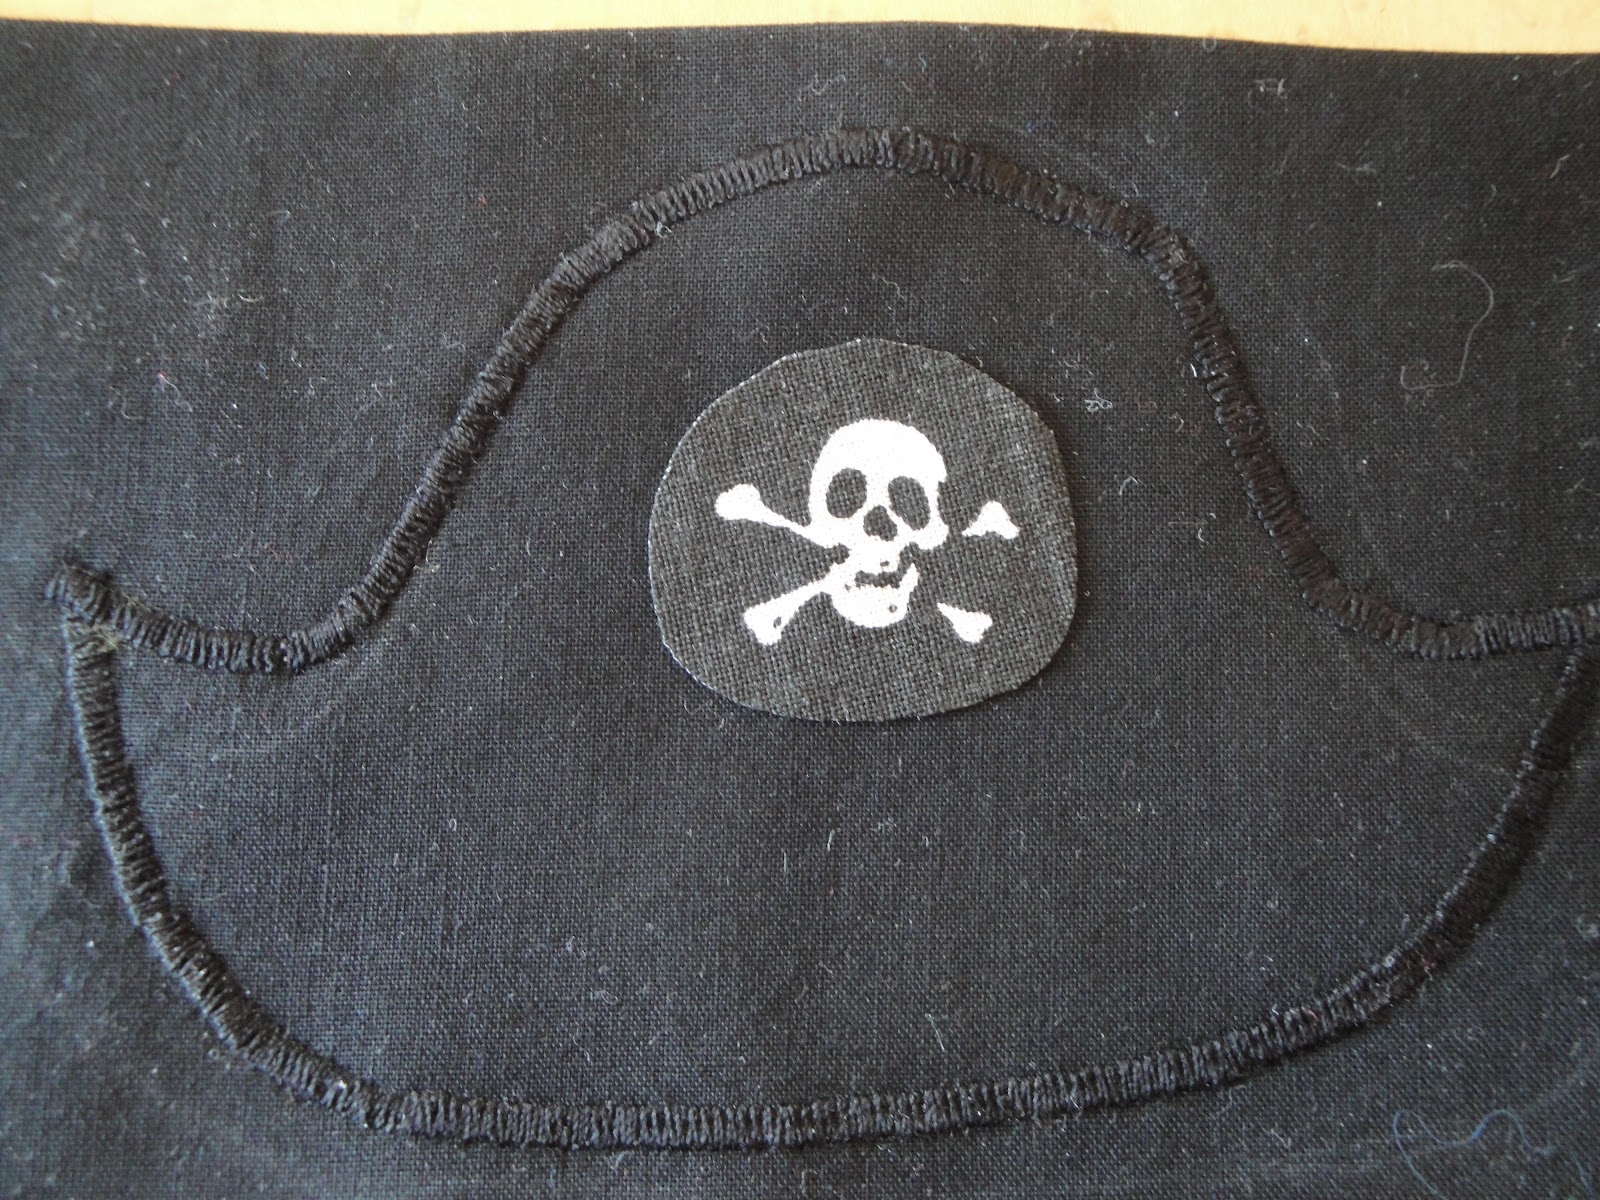
and zigzag around the image. Cut the hat out close to the seam but without cutting the stitches.

Prepare the hole by placing an oversized piece of fabric on the back of the hole (here inside the leg of the pants). Cover the hole (on the front) with a piece of fusible, a little smaller than the hat.

Place the hat over the fusible/hole and fuse in place.

Pin the corners of the backing fabric so they won’t get caught in the seam.

Remove the toolbox-thingie on your machine to make the arm as small as possible. The narrower the leg is, the more difficult it is to stitch around the patch. Free motion stitching will work very well when stitching onto a narrow space.

Stitch around the hat; I have stitched mine twice, the first seam close to the edge

and the second on the inner side of the zigzag seam.

Cut away excess fabric on the back

and you’re done.
If your kid is anything like mine, you’ll be making more than one of these.
Enjoy!
No comments:
Post a Comment
Note: only a member of this blog may post a comment.