Computer with Word or another word processing software
Fabric sheets for inkjet printers
Digital picture
Paint or other photo editing software
And what you'll do
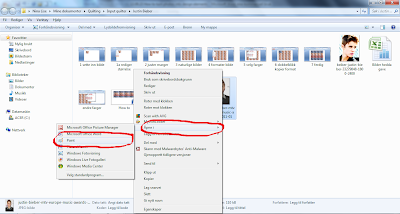
First of all you most likely need to edit your picture. Unless the background is really important, crop the picture as much as possible. More detail isn’t always better. Open the folder where your picture is saved. Right-click on it and choose open in Paint.
Click select
and mark the part of the picture that you want to keep, click crop
and save the picture.
Open a new document in Word and insert the picture (yes, this is a different picture)
Edit the size; if you want the design to be 4 pictures wide, divide the width of your page by 4. Just right-click on the picture and click on size
My design has 16 pictures.
Format the first picture by right-clicking it and click format
Click change colour and one of the colour options. I used dark grey and pink for my pictures.
Double click on copy format, and click on all the pictures that you want to be in this colour. Press escape when you are done.
Do the same with the next colour and you’re done with your design.
Feed the printer fabric into your inkjet printer, and print.
Have fun with your very own design fabric and stitch it into a project.
Enjoy!


No comments:
Post a Comment
Note: only a member of this blog may post a comment.