

What you’ll need
Light fabric
Green fabric scrap
Scrap of batting (size depending on how many badges you’ll make). A thin, flat polyester batting works well as it will melt a little and make the sandwich firm
Fusible web
Safety pins
Fabric marker
And what you’ll do
Fold a piece of paper into an isosceles triangle in the size that you want; measure the height.
Cover the piece of batting with fusible web on both sides. Make a sandwich by fusing light fabric to both sides of the batting.
From the back (if you have one), use a pencil or fabric marker to draw vertical lines. The width between them = the height of the tag.
Place your triangle on the first line, and draw two lines like this.

Fill the sandwich with evenly spaced parallel lines.

I stitched on top of the lines, making them visible on the front, but you may as well do the next step from the back - which is what I did anyway.

Set your machine to a narrow zigzag stitch and stitch inside each triangle using white thread in top and bobbin.

Cover the back of a small scrap of green fabric with fusible, and cut a strip. The width of the strip = the height of the trees. Cut triangles for the trees, and fuse one tree in the narrow end of each triangle (on the non-marked side of the sandwich), leaving room for a little star on the top.

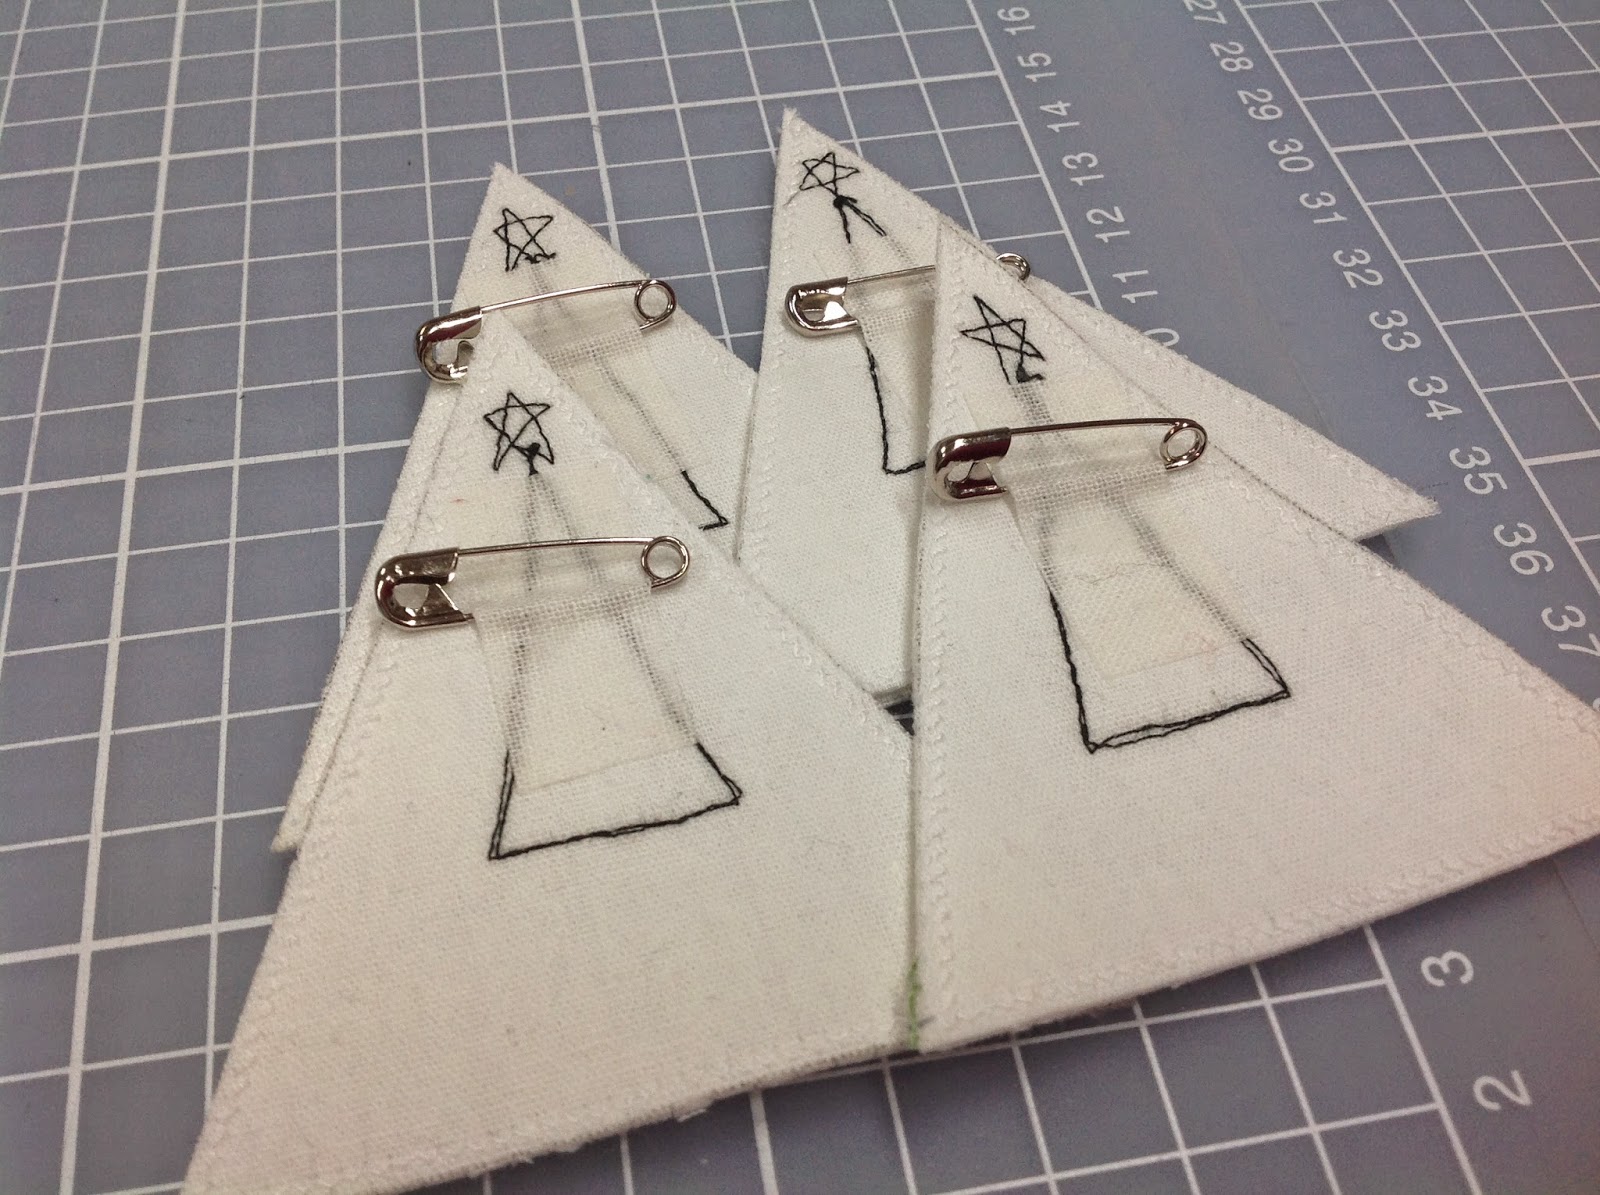
Free motion stitch the trees in place. I have used black thread and stitched around the triangle twice, and continuing to stitch a little 5-arm star on the top.

Cut the badges apart following the drawn/stitched lines.
Cover a piece of (white) fabric with fusible web. Measure the width of the pin itself (between the curly part and the closing part). Cut pieces of fused fabric at this width and approx 1” long. Place your badge on your ironing board, back side up. Cover the pin with the fabric piece and fuse it in place. Use your fingers to carefully press the hot fabric around the pin. You can see pictures of this step here.
Add a little dot in the middle of each star with glitter glue or fabric marker.

Write your name in the space below the tree and you’re done!
Så smart måte å lage disse på. Fine og personlige;)
ReplyDelete