
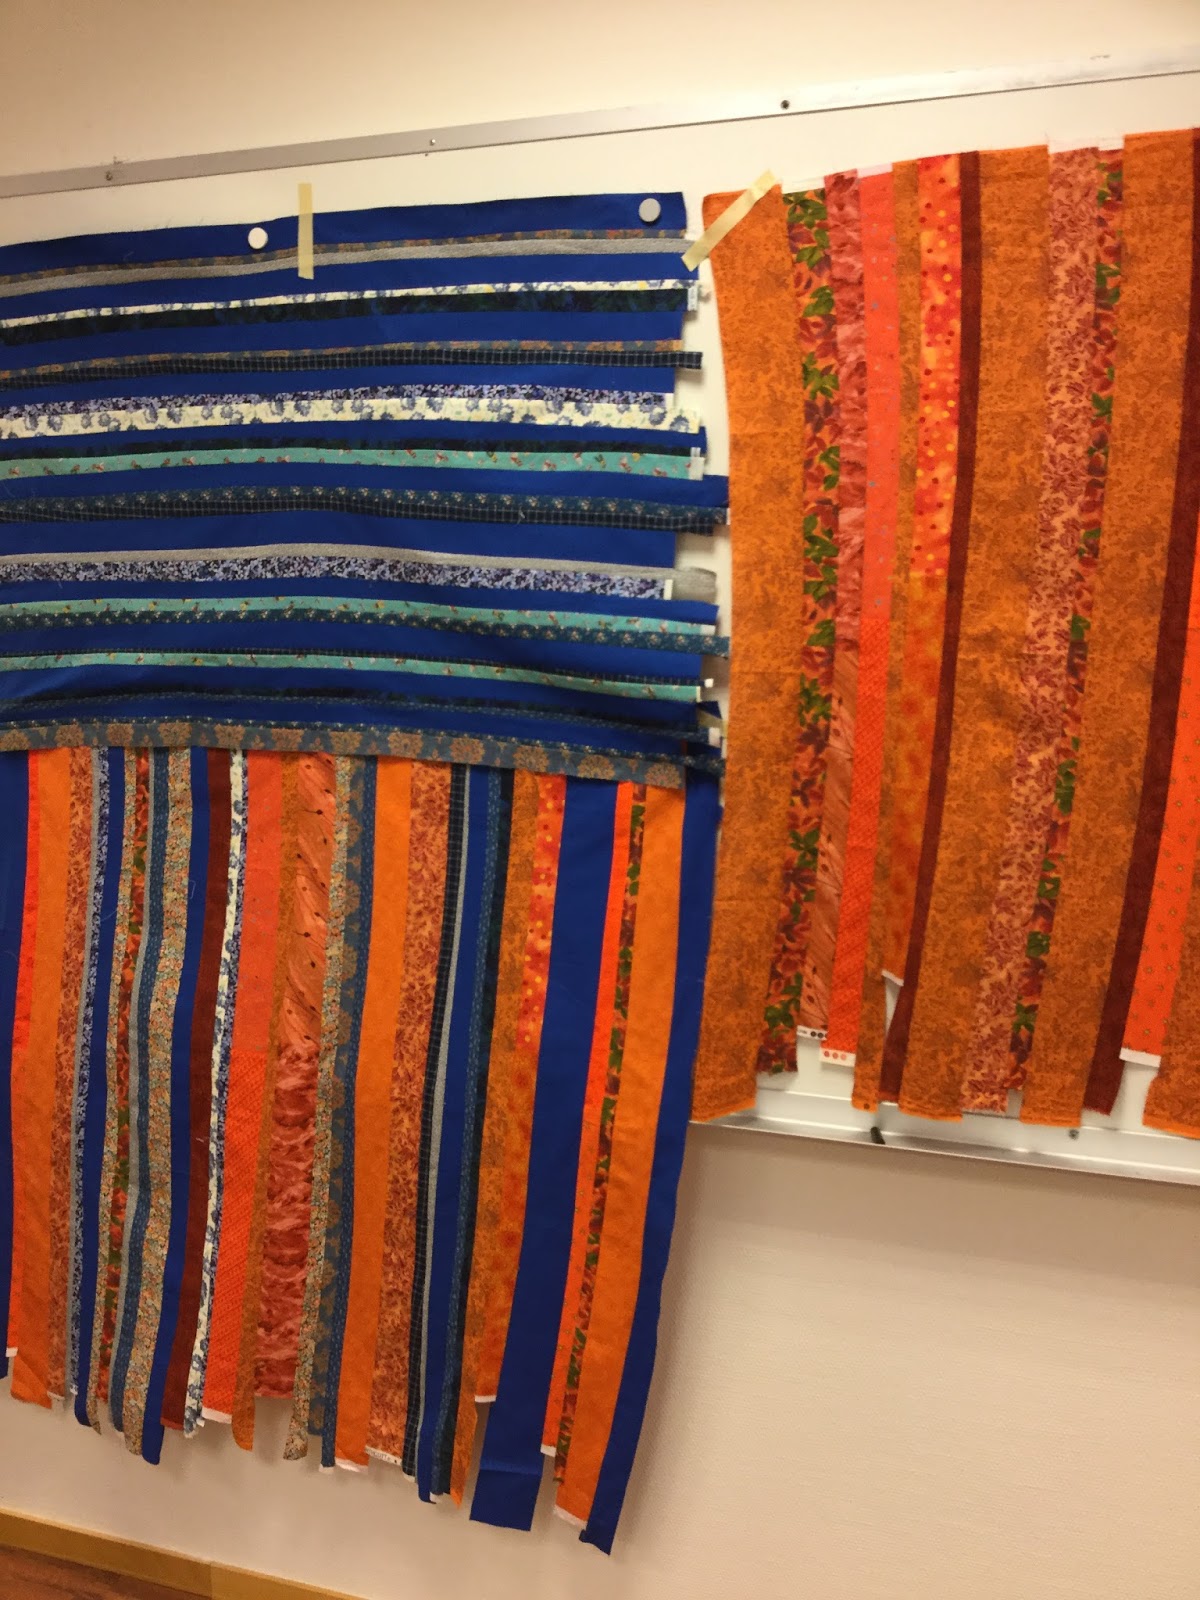
I particularly liked how the blues and oranges bled into the middle set.

Adding some black and white; agreeing to add black to our tops.

I was also surprised how one quick idea would set itself in my mind. We had discussed, as suggested in the book, ideas for using our string sets at the last group meeting, and I had loosely drafted an idea. The sets were sitting in my studio for weeks before I got to them, and during that time that layout had cemented itself in my head. I will not say that it was not an improv process because I used the proper techniques and such, but I did not work as freely as expected.
Here are some of the thought processes which I went through on the way to a finished top:
Making that first cut – big step!

8 pieces – two oranges, two blues and four blue/oranges. I tried to cut them from different parts of the sets. The blue ones came out a bit small, so I inserted strips of the same strip set.

Adding more to the blue blocks.

Swapping the blue/oranges to make more of a square shape.

Auditioning strips. The middle bottom block done. The black makes the bright colours pop even more and draws the eyes towards the edges.

Back to rectangular shape; adding strips to the orange blocks and white filler fabric. The black strips were cut with scissors and turned out surprisingly straight. Wishing I had set the pieces a bit off when inserting the strips, but not so much that I wanted to redo them.

Slashing middle side blocks and stitching them back together just a little off to create movement and interest.

Stitching the right column together, realizing that the orange block got turned upside down and deciding to keep it. You have no idea how much time I spent considering how much white filler fabric to add between the blocks!

Creating a centre block, wanting it to be mostly white with lots of seams to create movement.

Adding more pieced fabric to the block.

Like it! Dreading stitching the three columns together impro style.

A finished top; stitching the columns together was not that bad and the top is quite flat too!

Love that centre block!

Working this way created quite a bit of filler fabric trash.

I am rather happy with the top considering all the white fabric (which I don’t use much, which is why I chose it for this quilt), and am looking forward to quilt it. I think it’s going to make a huge difference.
Thanks for stopping by!
Interesting patterns emerge in the strips! xox
ReplyDeleteFantastic. Thanks for posting step by step pictures
ReplyDelete