With Halloween coming up soon, I thought some of you might like to make a new pillow for Halloween, or maybe several blocks for a wall hanging or lap quilt.
My first ever Pumpkin pillow was originally posted here, and the free tutorial here.
Enjoy!
Many years ago, I made my first attempt at English paper piecing. I loved it. A bunch of scraps (from this quilt) were cut roughly to shape and tuned into little flowers; a little garden in memory of my grandmother. I had heard that grey thread was a great choice, so that’s what I used, and the templates were printed out and cut apart with scissors. In hindsight not such a great idea, but it gave me a lot of joy at the time. The sides of the hexagons measure approx 1/2".
The flowers were joined with filler hexies from a recycled duvet cover and the whole garden appliquéd onto a piece of white flannel. Why flannel, you may ask, and you can see why here. Anyway, I used one of those awful monofilament threads for the appliqué and have probably not used it since.
I drew some free form lupines, tried out a couple of different sizes, and appliquéd one flower with satin ribbon stem on each side of the garden.
Some free motion quilted flowers and leaves later, and it was done.
Then the story took a wrong turn. Not quite happy with the size, I chopped off a good chunk of the bottom of the quilt. Indeed I did, and with that one cut I made it too small. What I should have done, was to take the thing apart and start over, but I didn't. Instead I added a new quilt-as-you-go style “bottom”, leaving a rather noticeable seam. The stems were replaced;
new quilting lines added and the text “In my grandmother’s garden grew lupines” (directly translated from Norwegian; sounds terribly wrong; oh well) was rewritten right on the seam. Might as well enhance the horrid thing, right. You can see the ghost from the previous text right above.
By this time, all I wanted was to finish it, so I secured the edges with bias tape and put it in a frame. After a few years on the wall, it was put away to be forgotten. I was quite happy to see it again, and wanted to use it in a pillow.
The elaborate label which was stitched into the new addendum was unpicked to be saved (inside the pillow case for now), and everything around the garden was chopped off leaving only a ¼” seam allowance.
It looked better already! I kept one of the lupines though; it’s still hanging in the corner of my design wall.
Adding a simple zipper-closure back, and a new pillow was done.
Even with the grey thread and the little pieces of flannel showing, I think it looks awesome.
It makes me smile; it’s my grandmother’s flower garden.
It has been a long time in the making, but my new Easter set, “Bollekyllinger” (Chicken buns or Bun chickens) is finally finished and so is the Norwegian pattern.
The appliquê design was first drawn up back in 2007 and the backgrounds made two years ago, so it was about time I’d say.
The pattern includes a table runner, place mats and a pillow. I made mine in soft pastel solids and happy bright prints, perfectly suitable for spring.
The pattern is easy and fun and will look great in any colour scheme.
They were quilted on Sir John with a mix of serpentine stitches and free motion quilting, and the pillow is backed with a beautiful recycled table cloth.
Using some of my precious table cloth stash is a goal of mine, and they make perfect pillow backs indeed.
I think this is my first Easter set and I’m planning to use it; how about you, do you decorate with Easter quilts?
Thanks for stopping by!
Continuing with our guild’s scrap theme from my two previous posts – in August the theme was appliquéing with scraps. I showed two ways of using small scraps, one for scraps with fusible web on the back, and one without. We had a new challenge coming up for the Christmas meeting, “Make a Christmas pillow from scraps”, so I used simple Christmas trees as a shape.
These trees are quilted and made into pillows; a tutorial on how to make them is coming up.
In October I demonstrated Ticker Tape. I had never done this technique before so this pillow was my first attempt.
Orange is the perfect neutral I’d say.
I also played with the simple Christmas tree shape, making a Ticker Tape Tree.
The panel is quilted and ready to make into a pillow. A tutorial on how to make such a tree is also coming up.
Thanks for stopping by!
Continuing with our guild’s scrap theme from my previous post – in April we displayed the results from our mugrug/placemat challenge, pictures posted here.
2 ½” was the theme for our May meeting and I demonstrated several blocks made from 2 ½” strips (original post here)
This block was one of the most popular as it comes with a twist (tutorial coming up).
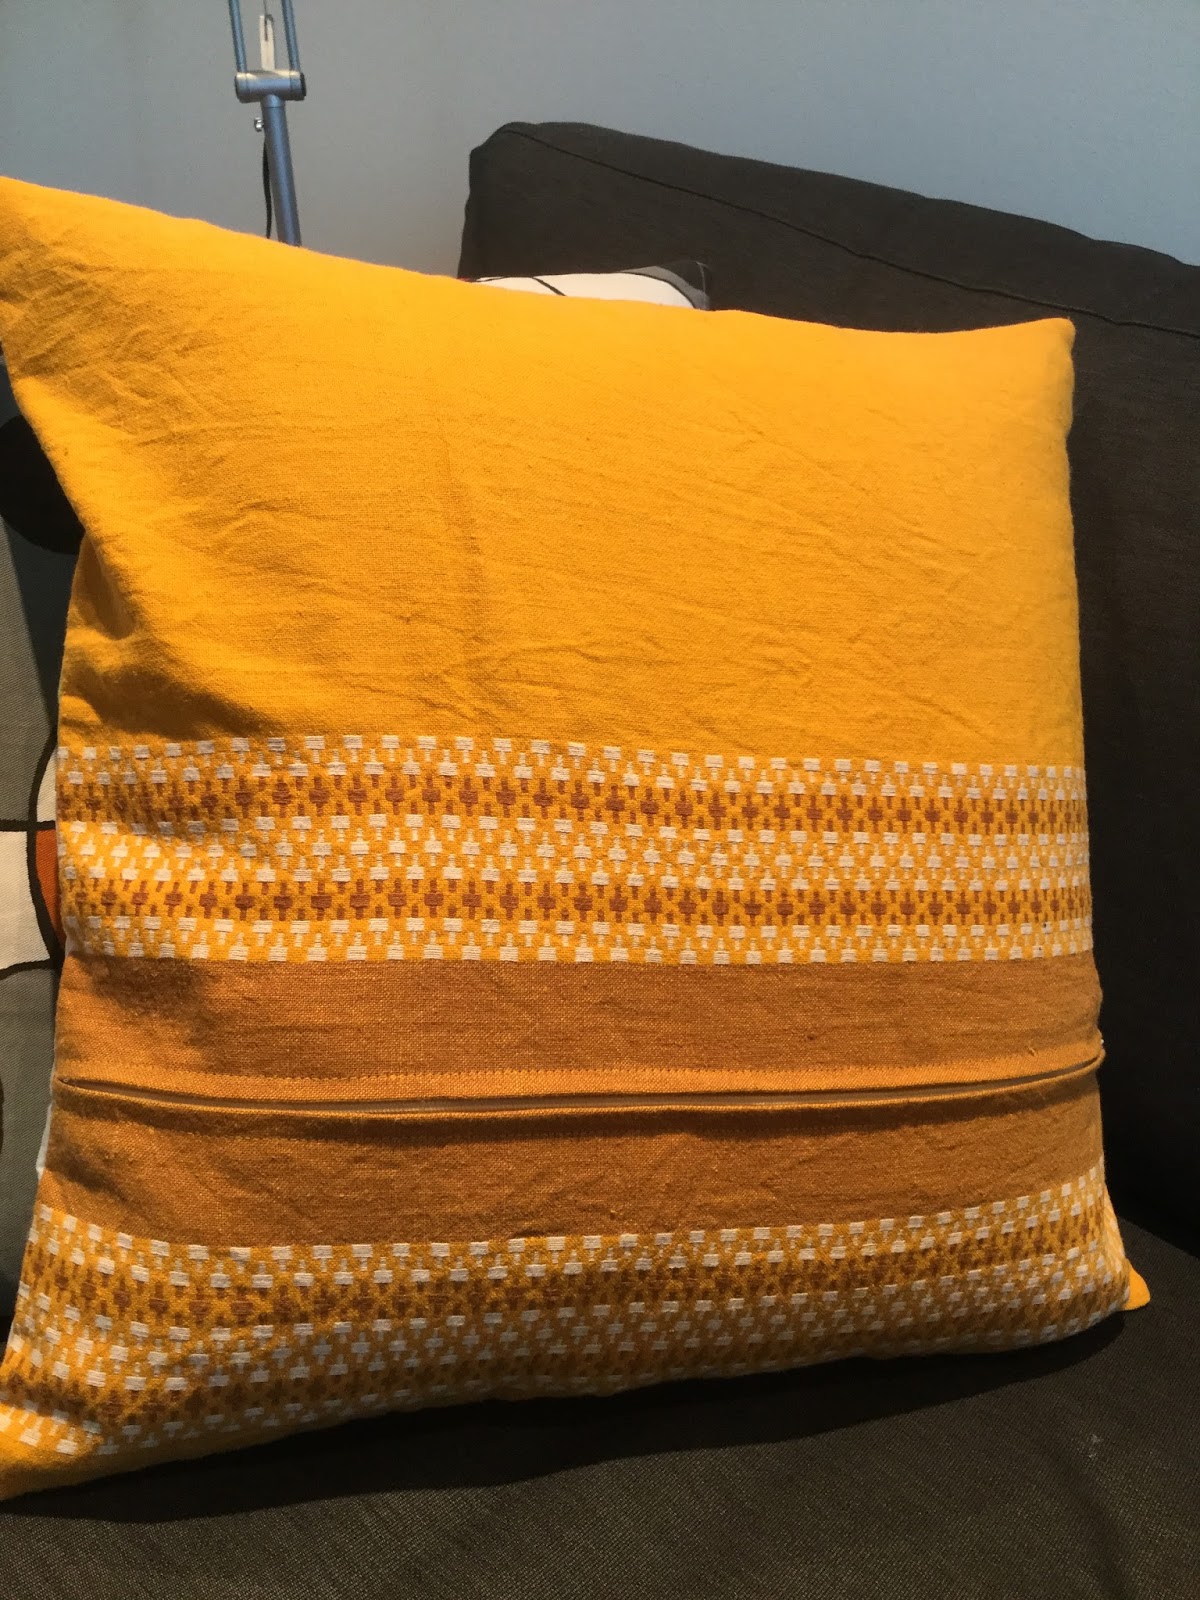
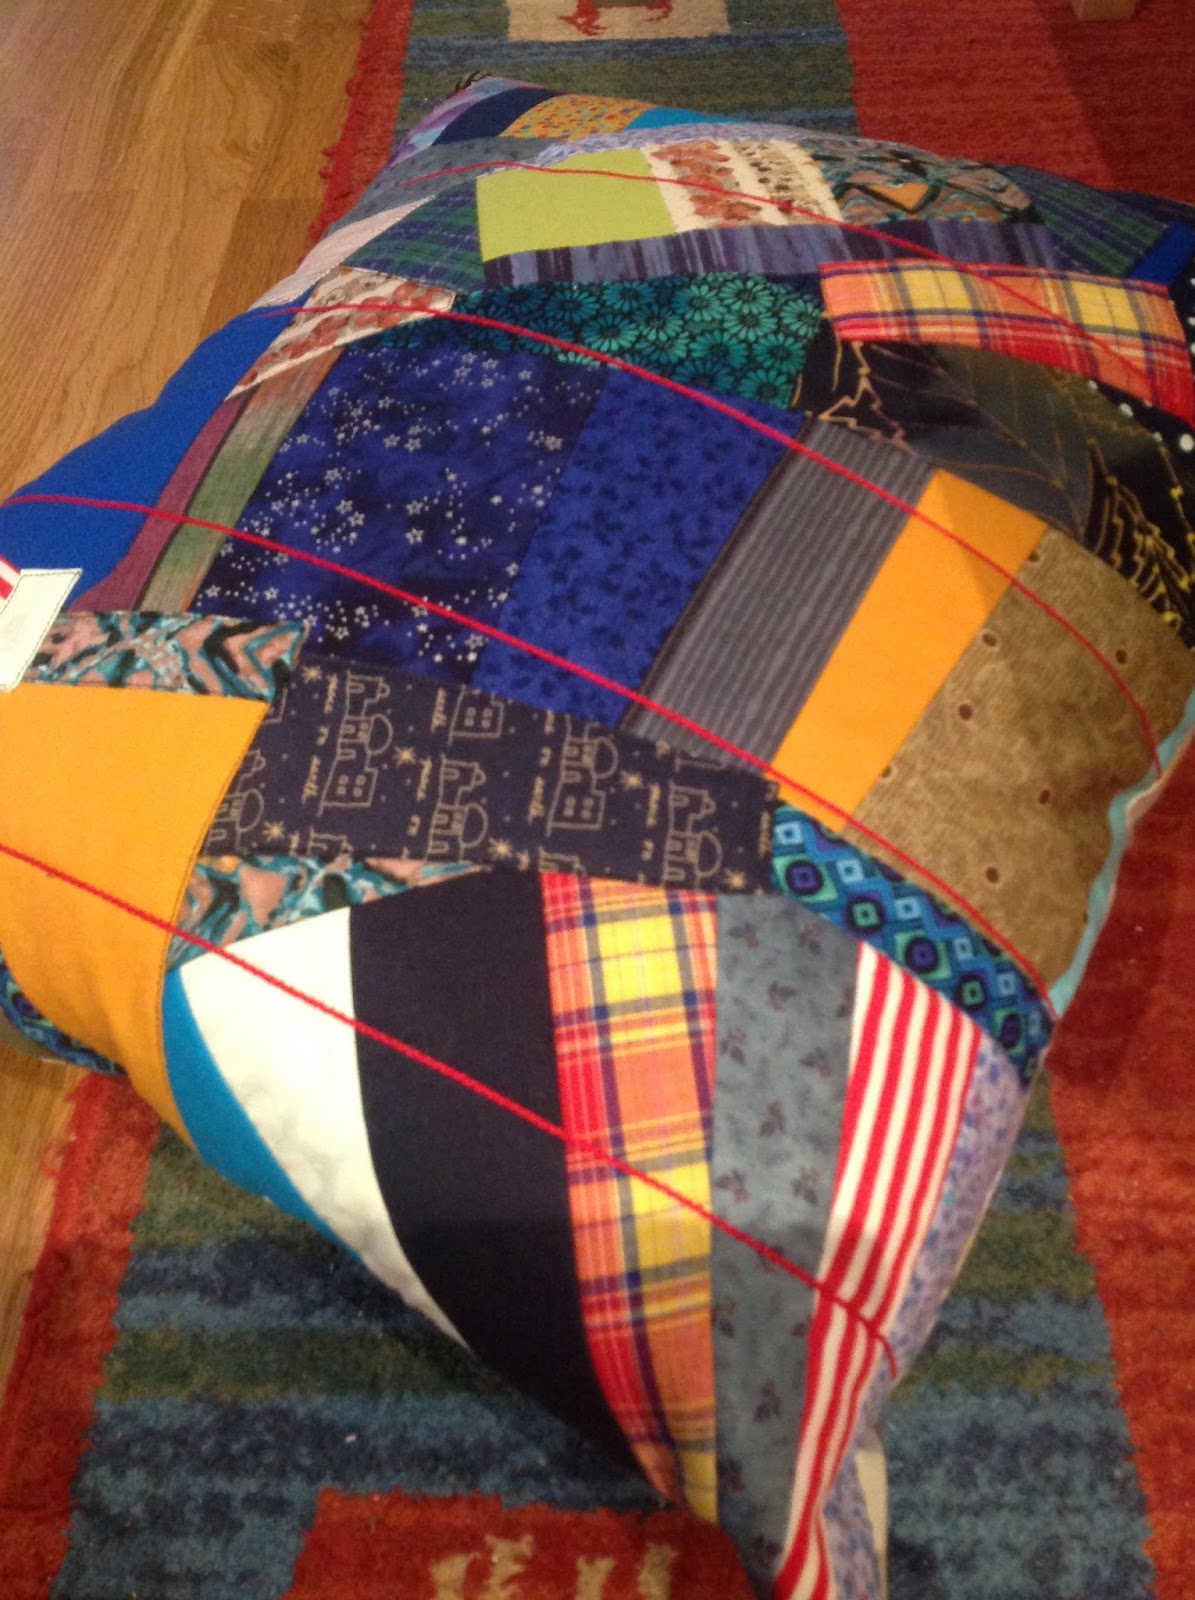
In June we talked about crazy quilts and I did a step by step demonstration. Grandson’s pillow was made with this theme in mind.
It’s as crazy as it gets.
I layered batting and backing and started adding scraps in all 4 corners and the middle, stitch-and-flip-quilt-as-you-go style.
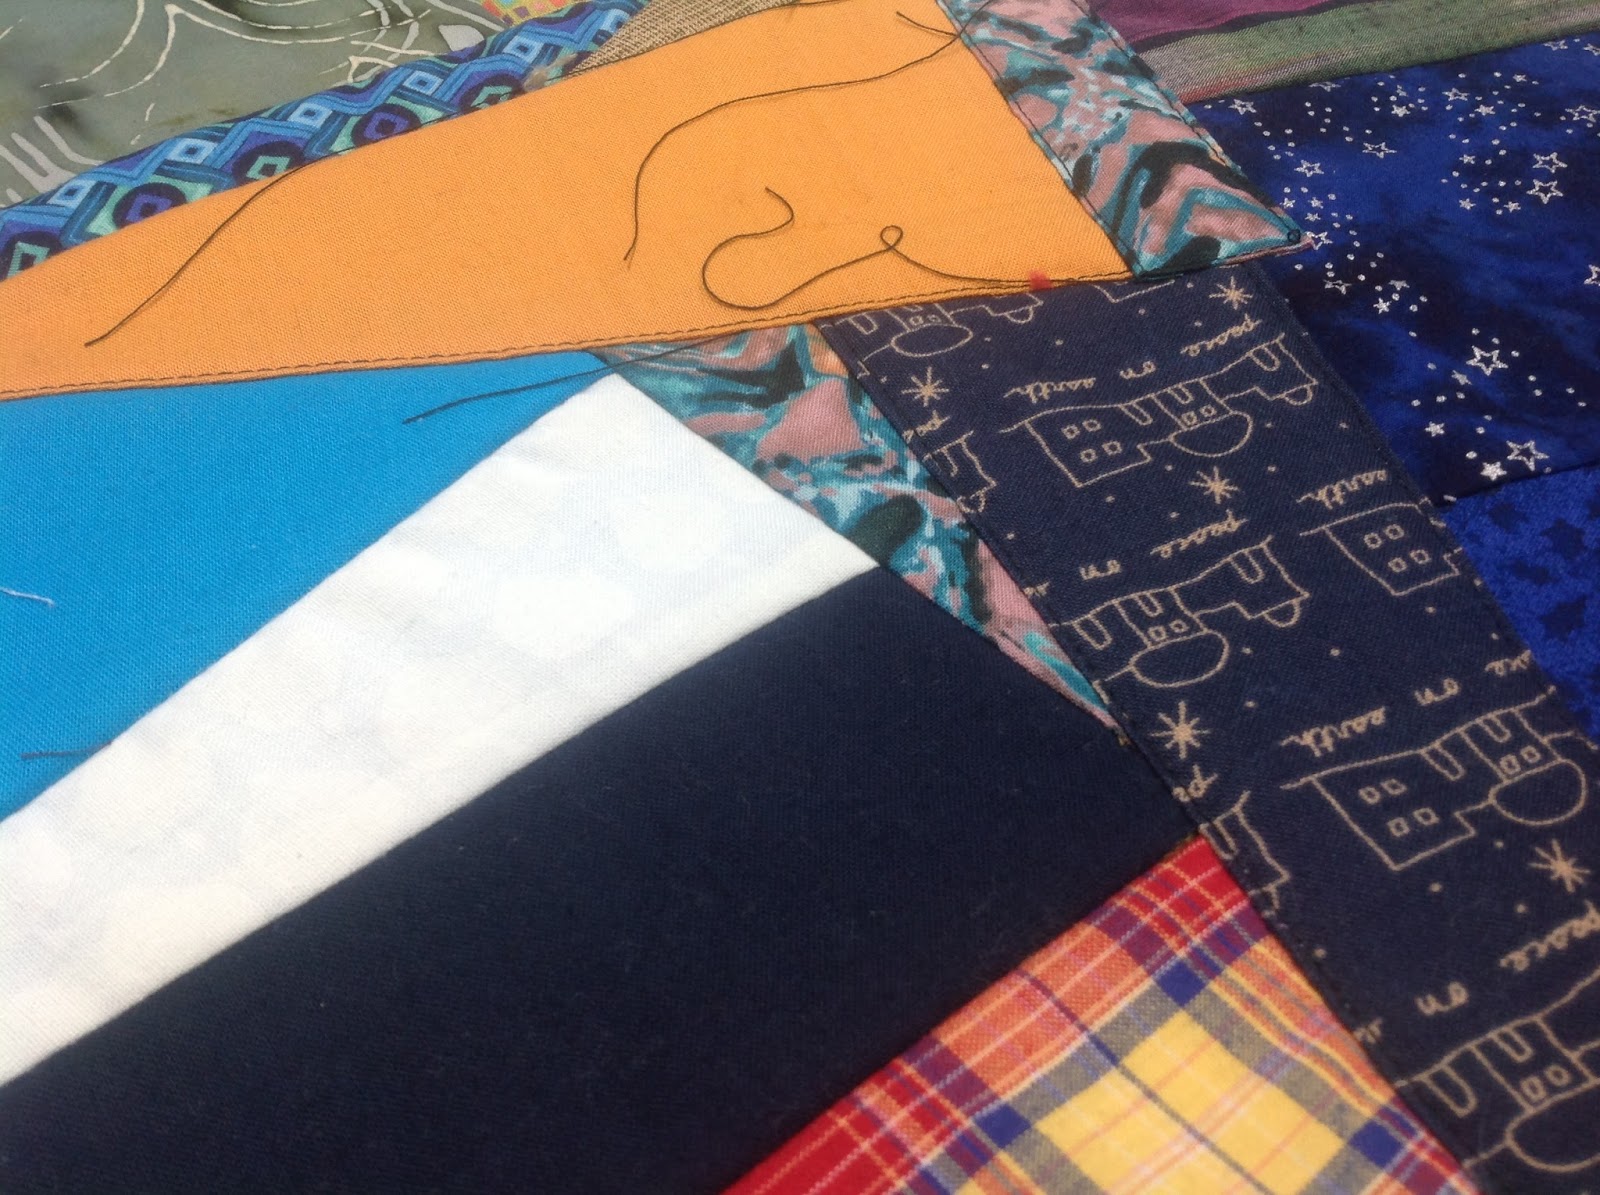
As the 5 clusters of scraps melted together, pieces were topstitched to cover all raw edges.
I wanted to tie everything together with red tacks, but I could not get them right.
After several failed attempts, I gave up on tacking and couched red yarn in vertical lines instead.
Worked like a charm! This pillow gets a lot of love:)
I am currently serving my second year as the leader of our guild, and was quite active regarding last year’s theme – Scraps. You all know how I love my scraps, so that’s probably no surprise, so
I thought I would share some of the things I worked on during the year, starting at the beginning.
In January we presented the first scrap challenge which was to make a small quilt from the size of a mugrug and up to a place mat. I made two quilts as examples and blogged about them here.
In February we presented our block swap of the year which was a diagonal string blocks with a white strip in the middle
(step by step tutorial posted on the guild blog here).
I also played around with different setting possibilities in EQ7
(all of them were posted here).
We also had a scrap workshop where I demonstrated different ways to make scrap blocks and generally had great fun with our fellow guild members. I worked on some simple string pillows which I have embellished with yarn and free motion drawing.
It is a very simple yet decorative way of jazzing up string blocks (or any block). I will post a tutorial on how to do this later.
These small pillows probably spend more time on the floor than on the couch upstairs, serving as weapons in pillow fights…
Every now and then I decide to take on any new sewing challenge coming my way. Even though they may not be quilting related, they can be good exercise skill wise, and think of all those exciting things one might enjoy if one had a go at them.
Earlier this year, when the staff in our little man’s kindergarden asked if I could make one of these sheepskins
into a leather mitten for story time, I said sure. Of course I can. It was to be as large as possible and did not need a thumb. I checked which supplies I needed, and purchased the recommended leather needles and super heavyweight thread.
The shape of the skin did not really shout mitten, but clearing my mind of any preconceived ideas of how one should look helped. I simply chopped the top off, and folded the short sides over to the middle to create a 3-D-ish shape. Sheepskin is actually easily cut with scissors.
Being a somewhat third dimension novice, I was rather pleased with figuring out this particular step.
(It's huge)
An hour or so into the project, after ripping bird’s-nesty seams for the umpteen time, I realized that maybe my lack of skills wasn’t the problem, maybe my sewing machine and the super heavyweight thread did not play nicely together. Determined to finish that mitten on time, I started stitching by hand, using the holes from the removed seams. It was painstakingly slow work, so I decided to have another go at the sewing machine. Using a regular size 90 needle and a regular polyester thread, the mitten came together in no time. Just like that.
The mitten was a big hit with the kids and the staff (they are easily impressed, I don’t think any of them sews), and is being used for telling the Ukrainian folk story as intended.
And what did I learn? Sheep skin is no problem at all for the sewing machine without the leather paraphernalia, and I can do 3-D.
Another new thing this year has been working with stretchy fabrics. My daughter picked some for new cushions, and having never worked with such, I thought sure, why not.
With a brand new jersey needle in my machine, I went looking online for advice on how to stitch stretchy fabrics.
I was happy to learn that I do indeed have a stretchy seam on my machine (number 17)
and after a few hours of work, the cushion covers, two of them super soft ones made from jersey with zipper closures and all, were finished.
What I learned from this is that the No 17 seam does indeed stretch, but so does the fabric. That first cushion was a bit big, so I made the next a little smaller. A happy daughter and grandboys and a new skill is a win-win I’d say, and I could use the very same seam to make her a tube scarf for mother’s day.
The next thing I have agreed to is making a new cover for an armchair seat cushion for the kindergarden. I’m thinking something scrappy as my scraps are always at hand these days. The cover requires some huge-3-D-zipper math, but sure, why not?