

What you’ll need
Fabric
Batting
Circles (paper or fabric)
Fabric marker
Glue stick
Buttons
Embroidery floss
String or ribbon
Cardstock
.JPG)
And what you’ll do
Hearts
Make a heart template by folding the cardstock in half and cut out (half) a heart. Make it any size you want, but if the heart is too big, it may fold when hanging.

My template measures approx 4”*3 ¾”.


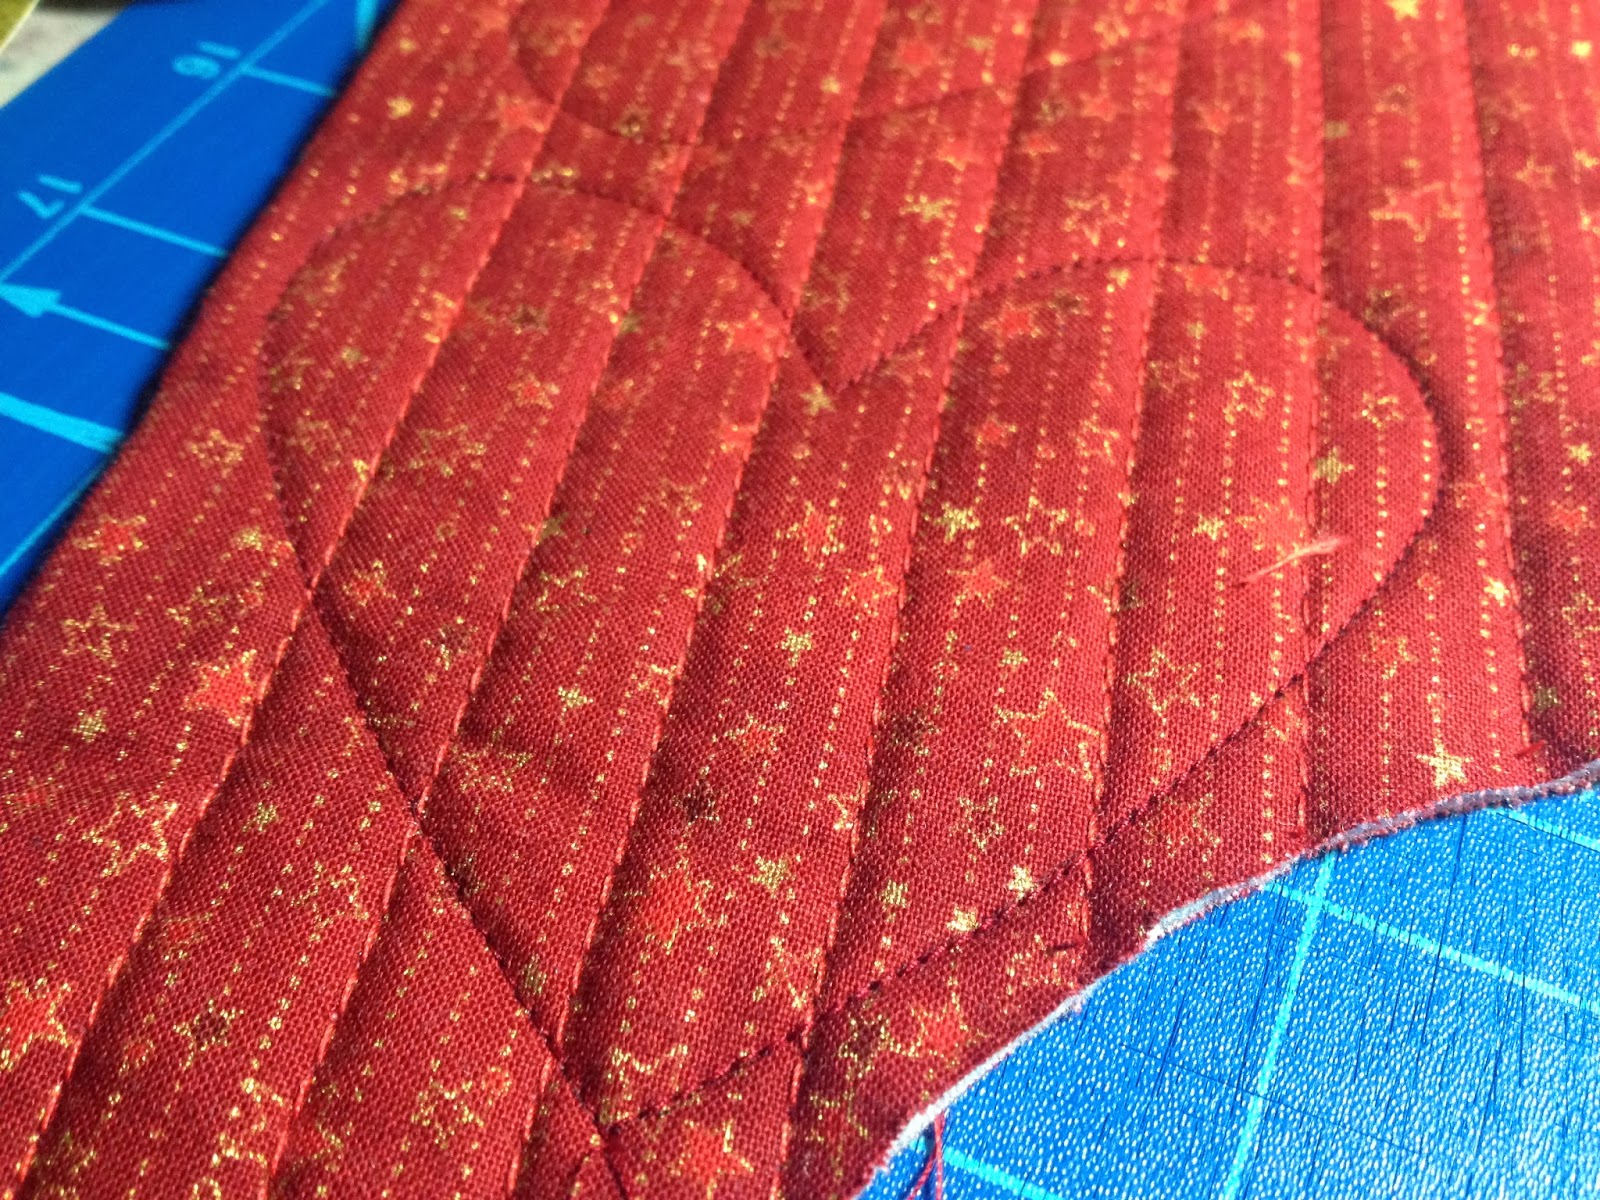
Fold the fabric in half, wrong sides together, and layer a piece of batting between the layers. Thread the machine with the same thread in the top and the bobbin as there will not be a front and a back side of these hearts. Quilt as you wish; the closer the lines are together, the firmer the hearts will be.
Using a fabric marker, trace around the template on either side of the quilted material. Leave at least ½” between the hearts.

Stitch a straight seam on top of the line; use an appliqué foot if you have one for better visibility.

Choose a decorative stitch if you have one on your machine, or use a zigzag stitch. You may want to do a test to see how the stitches look on the back - both regarding the thread tension, and how the stitches look.

I used this stitch (No 66)

and set the width and length of the stitches like this.

Choose whether you want your decorative stitches to go inside of the stitched heart, or outside (stitches going to the right or the left of the stitched line). Start at the bottom of the heart, and stitch on top of the first stitched line.

Decorative stitching done outside the line

and inside.

Cut the heart out close to the stitches, but do not cut through them.
Trimming
Cut two circles for each heart. I used a circle punch to make mine from scrapbook paper; fabric circles with work just as well.
Use a glue stick to glue them to the heart, one on each side. To get them in the same place, it may be helpful to mark the position of the first circle with pins when positioning the second.
Stitch the circles in place using the same stitches as you did when making the heart, or use a different stitch.
Stitch a button to both sides of the heart at the same time using embroidery floss, leaving the knot and tails on the front. Do it from both sides so that you get thread tails on both sides.
.JPG)
Cut a piece of string or ribbon, tie the ends together, and stitch it to the heart by hand.

Done!

You can add a picture or a message or anything to the circle if you like; how about “Love you” or “Merry Christmas”.
Now make a few, and give them away!
No comments:
Post a Comment
Note: only a member of this blog may post a comment.