Showing posts sorted by relevance for query movement. Sort by date Show all posts

Friday, 22 November 2013

"Red Movement"

This is the second of the new samples which I made for the Layer upon layer Movement class.

This quilt has less contrast between the background and the “paint”. The warmth draws me in and makes me want to surround myself with lots of warm colours.

One of the things that I particularly like about the Movement quilts is that the overall look can easily be adjusted to the students’ colour preferences. The warm colour kit can for instance easily be made more hot pink or warm orange.

I don’t usually finish off the edges of the Layer upon layer samples so that the students can see all the different layers, but the quilts can be made into pillows or bags or wall art with or without a frame. They would also look fab in a bigger quilt-as-you-go wall piece like this mock up.

The purple quilt is the first draft ever and will be remade before the next Movement class, but it still looks quite good I’d say.

Have a wonderful Friday!

Monday, 9 March 2015

Upcoming classes and a Movement class at Randaberg Husflidslag

I’ll be teaching two classes this upcoming weekend, and am getting my stuff ready to go. The class samples have been located and set aside and, with any luck, the printouts will come out of the printer first thing tomorrow morning. I was planning to teach locally only this spring, but when I was invited to visit a small guild up north, I couldn’t resist.

The classes I will be teaching are Christmas on Earth and Funky Fowl; two very different but equally fun classes with lots of room for creativity.


I have also set up a few classes to be taught in my studio over the next few months. The classes are Skyggesiden (The dark side, 3D effect),

Fargerike (colour theory with a twist) 

and Movement (painting with fiber). 
You will find all the dates on the “Kurs” page.


The last class I taught last year was a Movement class at Randaberg Husflidslag back in November.

I have said it before, but I'll say it again - the process from bits and pieces to finished projects is magic,


and the results are gorgeous.

I am very much enjoying visiting different Husflidslag which are local chapters of Norges Husflidslag, the national arts and crafts association. Their classrooms are often decorated with a variety of fabulously colourful pieces. Here are some pictures from a previous class at Sola Husflidslag posted back here.


If you would like to sign up for one of the upcoming studio classes, let me know and I will send you more information.

Thanks for stopping by:)

Sunday, 2 February 2014

Movement at Gausel

Saturday was a good day, as most days spent in company with quilters are. We created movement of all sorts – both visually and physically as I had them jumping off their chairs ever so often. Sitting still at a table for hours on end is not good for anyone, although I do get my exercise of the day teaching any class.

Here are some pictures from our Layer upon layer Movement day. Look at those colours coming to life.  I provide three different colour ways; the rest is each student's work. Aren’t they absolutely fabulously gorgeous even half way through the process!
 

The room was totally quiet for big parts of the day. Quite an accomplishment I’d say, keeping this lot of fun ladies silent.

Looking at their works of art in progress, would you believe that none of them had worked with these materials and technique before?

Teaching Layer upon layer classes is pure bliss indeed!

Thank you, ladies, for your awesome attitude and company, and for letting me share my joy of this technique with you!

Sunday, 3 November 2013

Layer upon layer Movement class in Kongsberg

The second day teaching at Sølvtråden lappelag in Kongsberg was a new Layer upon layer class called Movement. I was so excited to get to teach this class as I love the amazing effect that can be created with very simple supplies. That being said, I do put a lot of time and effort into the kits provided for the class so that everyone has what they need to make beautiful art, but still - simple supplies when you know what to use.

The students bring background fabric and a few scraps, and I provide the “paint”. I’ll talk them through every piece of material in their kits, what they are used for, and where I bought them. Then we go through a quick paper trial and move very quickly on to the good stuff - cutting into the fabric.

The Layer upon layer classes are all about playing. There are no rulers or measuring involved, just scissors, and these students enjoyed the process very much indeed.

There was totally silence for a long time as they added layer upon layer, everybody totally in the zone. I’ll confess – for a while there my fingers were itching to dig onto one of those colourful bags with transparent treasures.

We added whispers of light, hints of shadow, sparkles of bling, and washes of colour, watching how each new layer enhanced the overall picture.

One of the things I teach my students is to use their cameras to decide between different options, or to see what they need to add next - if anything. I will ask them “what do you see?”, and then we will figure out what their next step will be. It’s so much easier to see the full picture on a screen than on the worktop.

There’s a lot of stitching involved to finish these projects and achieve the painted effect, but everyone finished the first rounds of quilting lines to keep everything in place on their way home.

Aren’t they absolutely fabulously gorgeous!!

You can see some of their own pictures from the weekend here, here and here.

Thank you, ladies, for inviting me to Kongsberg and for making my weekend so enjoyable!

Monday, 29 October 2012

"Eye of the storm"

Welcome to my blog, Mrs Moen! My name is Nina Lise Moen, and I am a quilter and quilt book author who designs patterns and teaches classes on the side. I enjoy a few other creative outlets as well, but today is all about quilting. I didn’t think I would manage to finish this quilt in time for the Blogger’s Quilt Festival, but yesterday I was given the gift of a few hours and decided to better use it wisely.

I enjoy making many different kinds of quilts, from piecing together simple fabric shapes to creating art pieces, and with quite a few small story quilts in between. Most of all I love playing with fabrics, and my scrap bins are often put to use although you could not tell by looking at them. Over the last year I have worked quite a lot with a technique I call Painting with fiber and right now I’m quite fascinated with the possibilities and I have enjoyed developing a new class concept called Layer upon layer.

“Eye of the storm” was made yesterday as part of a challenge. The theme was movement and it was supposed to be cut into a triangle, but it was to pretty and too large to waste, so I’m adding it to my Layer upon layer class curriculum instead.


The quilt is made with lots of different transparent and semi transparent fibres.

Half the fun of working with untraditional materials is searching for them, seeing the potential in other’s castoffs and mundane and outdated everyday objects. It’s safe to say I have been a bit obsessed, paying frequently visits to the local thrift shops. Right now my studio is all stacked up and ready for new classes and projects. Seriously, I could not fit another piece of organza in there.


Blogger’s Quilt Festival Stats:
Finished quilt measures : 17 1/2"*18"
Special techniques used : Painting with fiber
Quilted by : Myself
Best Category : Art quilt
 
I’d better start putting my glorious collection into good use; there are quilts to sew (like a new movement challenge quilt), classes to prepare, and kits to make. Thanks for stopping by and thank you Amy for setting the Festival up; you can see the rest of the online quilt show here.
Have fun!

Sunday, 29 May 2016

Improving: String Top

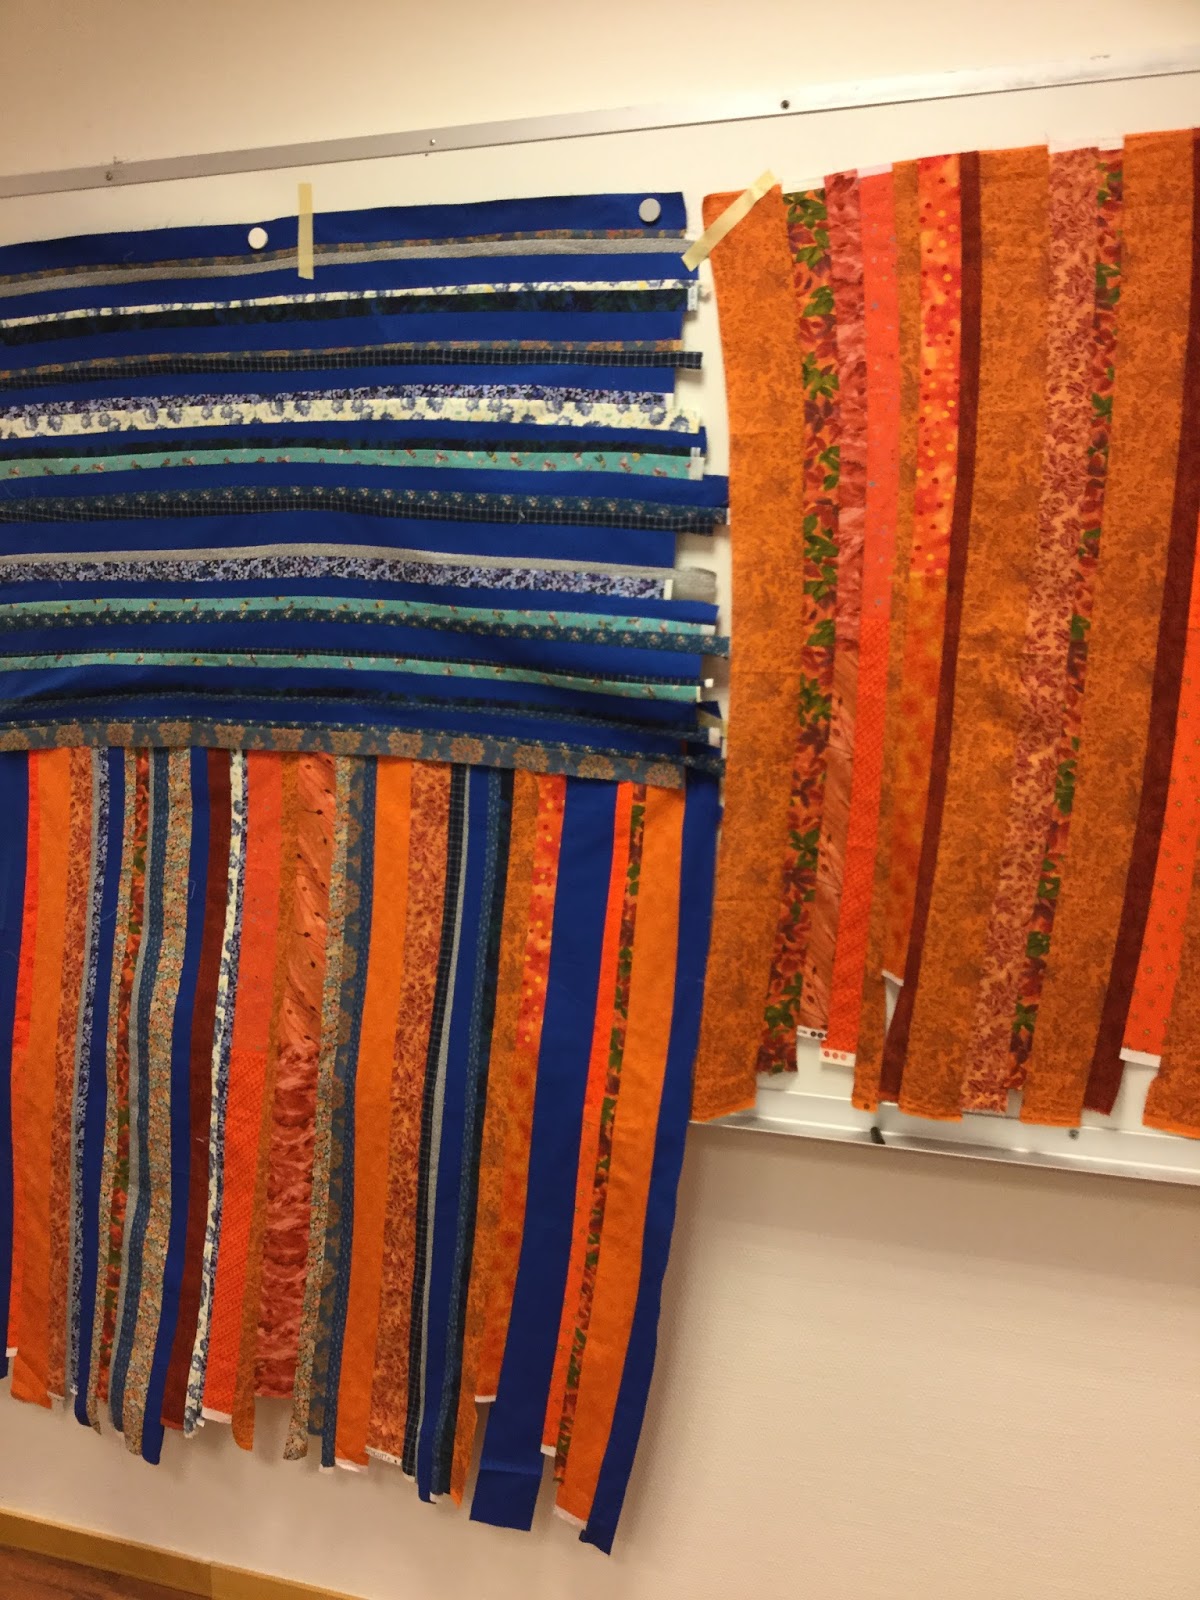
When I first started out on the journey with my improv quilting study group, I was prepared for it to be challenging. While the first score was all fun, this one has been more challenging indeed, and also surprising. I was, for one, not expecting those strips of less-than-favourite fabrics to feel so precious when stitched together. Here they are on our last meeting where they were twisted and turned, admired and discussed. Would you believe that we spent three hours doing so and enjoying every minute of it?

I particularly liked how the blues and oranges bled into the middle set.

Adding some black and white; agreeing to add black to our tops.

I was also surprised how one quick idea would set itself in my mind. We had discussed, as suggested in the book, ideas for using our string sets at the last group meeting, and I had loosely drafted an idea. The sets were sitting in my studio for weeks before I got to them, and during that time that layout had cemented itself in my head. I will not say that it was not an improv process because I used the proper techniques and such, but I did not work as freely as expected.

Here are some of the thought processes which I went through on the way to a finished top:
Making that first cut – big step!

8 pieces – two oranges, two blues and four blue/oranges. I tried to cut them from different parts of the sets. The blue ones came out a bit small, so I inserted strips of the same strip set.

Adding more to the blue blocks.

Swapping the blue/oranges to make more of a square shape.

Auditioning strips. The middle bottom block done. The black makes the bright colours pop even more and draws the eyes towards the edges.

Back to rectangular shape; adding strips to the orange blocks and white filler fabric. The black strips were cut with scissors and turned out surprisingly straight. Wishing I had set the pieces a bit off when inserting the strips, but not so much that I wanted to redo them.

Slashing middle side blocks and stitching them back together just a little off to create movement and interest.

Stitching the right column together, realizing that the orange block got turned upside down and deciding to keep it. You have no idea how much time I spent considering how much white filler fabric to add between the blocks!

Creating a centre block, wanting it to be mostly white with lots of seams to create movement.

Adding more pieced fabric to the block.

Like it! Dreading stitching the three columns together impro style.

A finished top; stitching the columns together was not that bad and the top is quite flat too!

Love that centre block!

Working this way created quite a bit of filler fabric trash.

I am rather happy with the top considering all the white fabric (which I don’t use much, which is why I chose it for this quilt), and am looking forward to quilt it. I think it’s going to make a huge difference.

Thanks for stopping by!