This morning my book was sent off to test-printing (sorry, don’t have the English publishing lingo down; barely the Norwegian). I expected to feel relief, but I am still just as worked up as I was when I tried to get to sleep last night. I am not complaining though; it has been an amazing experience, and the thrill of finishing on time! Wow, what a rush!
Now I need to pick up where I left off, and there’s no better place to start than right here on my blog. I have been looking through my backlog of pictures, and found a couple of tutorials I was planning to do earlier
You’ll find the Make a Fleece border/binding tutorial posted over here at my tutorial blog, Mrs Moen How to’s. A little warning though - there are lots of pictures!
I’m off to spend a few hours with daughter and baby. Cannot wait:-)
Wednesday, 29 February 2012
Make a Fleece border/binding
Use fleece for backing your quilt; I use it on all our “cuddly quilts”. I don’t use additional batting as we find the fleece warm enough for our use.
You will need a piece of fleece that is larger than your top on all sides. I usually let the width of the fleece determine the size. An extra 8”- 10” will give you a nice, wide fleece frame; but it will work with as little as 1” – 2” extra which will give you more like a fleece binding.
Baste the layers (I use pins or spray) but make sure you don’t stretch the fleece during the process (don’t ask how I know).
Quilt as desired; I usually use the walking foot to make sure the layers are fed properly through the machine. Tying also works very well. Make sure all your edges are secured to the fleece, or secure them by stitching an additional seam.
The quilting lines look lovely on the back
and so does the excess fleece.
Measure the width of your narrowest side
making sure all the selvages will be chopped off.
Marking this width with sticky notes will prevent mistakes (don’t ask how I know).
Trim all 4 sides to the desired width.
Bring all threads to the front and tie them.
Cut them off leaving an inch or so.
Fold the fleece over the edges of the top with an approx ¼” overlap. Use a lot of pins to secure.
I used to spray baste them with this little spray can;
just a narrow line of glue along the edges of the top.
However, I found myself adding pins here and there anyway, so I dropped the spray. Try it if you like; it’s much quicker.
Fold the corners like this
then the edges over
to make a mitered corner.
Finger press (red line) and chop off the excess fleece triangle
just leaving a approx ¼” seam allowance.
Pin the corners; both edges
and the mitered folds together.
Start stitching around the fleece edge using a walking foot. I stitch at least 3 seams all the way around; the first, one close to the edge and one on the other side of the first.
Smooth out any bumps on the way by lifting your pressing foot with the needle down and adjusting any excess fleece. You can cut off little bumps and pleats that get caught in the seam afterwards; fleece is very forgiving.
See?
Stitch the mitered corners by hand.
Finished! And in no time at all!
Sunday, 26 February 2012
Still here...
I’m still here although I have been absent from the blog world lately including my own blog. Finishing up the book has taken more time than anticipated, the publishing date has been moved more than a month and we are all quite squeezed on time. 144 pages to proof, illustrations to audit, chop, chop, chop to make more room, pictures that needs resizing, replacing, re-anything. Seriously, how much can your brain even process at the same time? Mine is in overdrive, but the good thing is that it will all be over soon.
Up until lately my focus has been more on the fact that I won the contract, the creativity involved, and the intellectual part of actually writing a book more than what it means to have a book published. It’s a bit scary, I’d say.
I’m spending yet another day in front of the computer screen, working on streamlining a few patterns for printing. It took me 3 hours to order the pictures. 3 hours! Enough boring work already; I cannot wait to get back to my sewing machine. I do however wind down in the evenings. The crochet project is moving on very nicely.
Have a lovely Sunday!
Tuesday, 21 February 2012
Tuesday morning
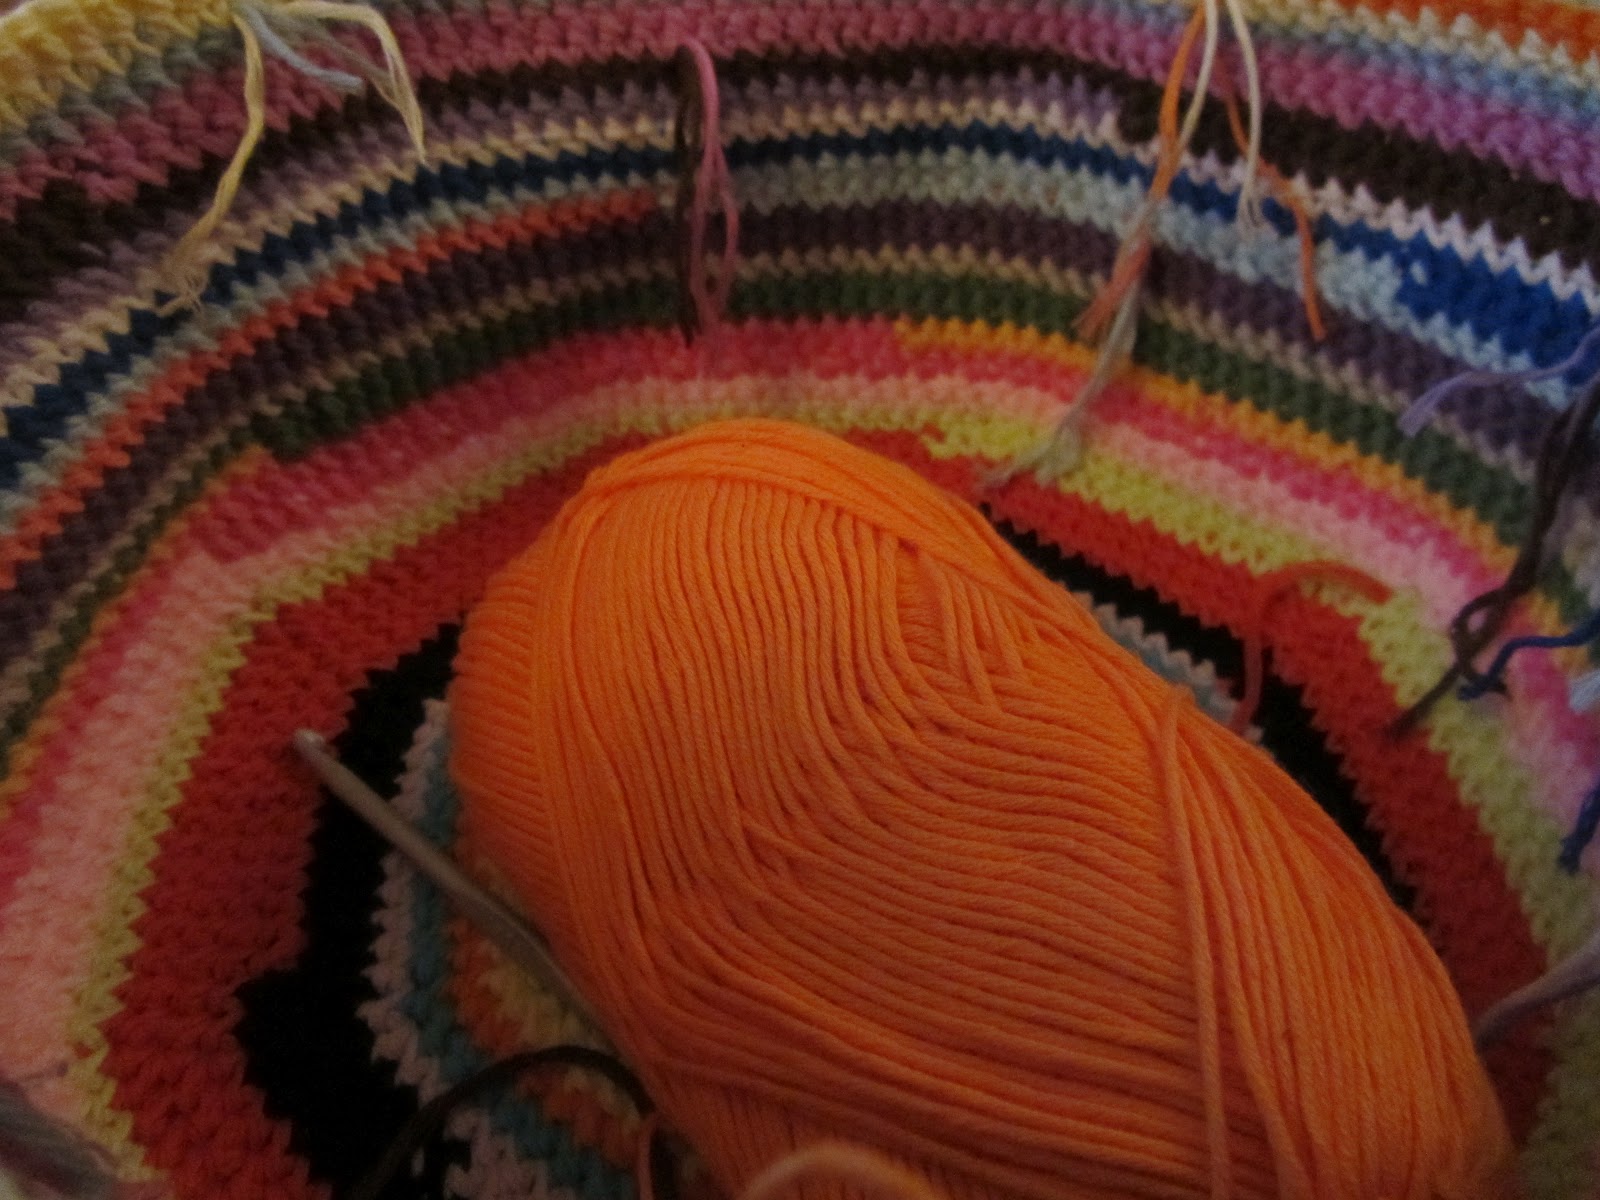
Life is back to normal after the rush of joy welcoming a new loved one into our lives. I’ve had my share of baby cuddle time. Pure joy in a small package. Now the young ones have gone home, the house is empty, I have tons to do but I cannot seem to focus on anything. So what do I do? Chrochet. Yup. It has been ages since I used a hook, but I have been drooling over this basket for ages so grandson and I took a short road trip to the yarn factory outlet to stock up on cotton yarn.
No matter which angle I look at them
Happy Tuesday!
No matter which angle I look at them
they look gorgeous
reminding me of spring.
I’m working the tried and true Goldilocks style; the first base was to curved, the second too wavy around the edges and the third one just perfect.
I’ll get my book back later this week for another proof reading which means it’s getting closer. The cover is done, the much dreaded foreword written, the projects picked, pictures chosen, the designer is putting the final touches on the layout, and all I have left to write is what goes on the back of the book.
All right; enough procrastination; off to work…
Saturday, 18 February 2012
Two days and a lifetime
On February 17th at 23:36 a new little Mr Moen was born into the world. He is perfect; 3545g and 49cm; a big boy even though he was born a little early.
The hat is one of the ones I knitted in case he would be a preemie baby; it still fits though.
There were a few changes in plans, so I was not there for his birth, but we all got to meet him this morning. I’m in love. Again. Big surprise huh;)
I’m glad the waiting limbo which we have been in since I picked up the pirate king, Langemann on Thursday is over.
Now we can relax a bit; they will all be staying here for a few days when they get out of hospital and I get to be a full time baby cuddler. Well, except for the book and patterns and quilting and spending plenty of time with my young fellow arts & crafts dude and a little sleep.
Have a wonderful weekend!
Thursday, 16 February 2012
Quilta Figurer
Quilta Figurer (Quilted Shapes) is my new free motion class. We will work our way through 9 different free motion patterns, 3 different techniques and play with them creating shapes.
We will draw, work on practice cloths and make panels which can be used for place mats, wall hangings, table runners, pillows etc.
“Quilta Figurer: Blomster” flowers
“Quilta Figurer: Sommerfugler” butterflies
“Quilta Figurer: Hjerter” hearts
”Quilta Figurer: Trær” trees
Words (god jul is Norwegian for Merry Christmas, vår is Norwegian for spring, and uhu is owl language)
“Quilta Figurer: Jul”
“Quilta Figurer: God jul”
“Quilta Figurer: Vår”
“Quilta Figurer: Vår vår”
“Quilta Figurer: Uhu”
My practice cloths are long and narrow so I can make them into table runners.
As you can probably tell, I had a lot of fun making these. My free motion mojo is definitely back!
Subscribe to:
Posts (Atom)