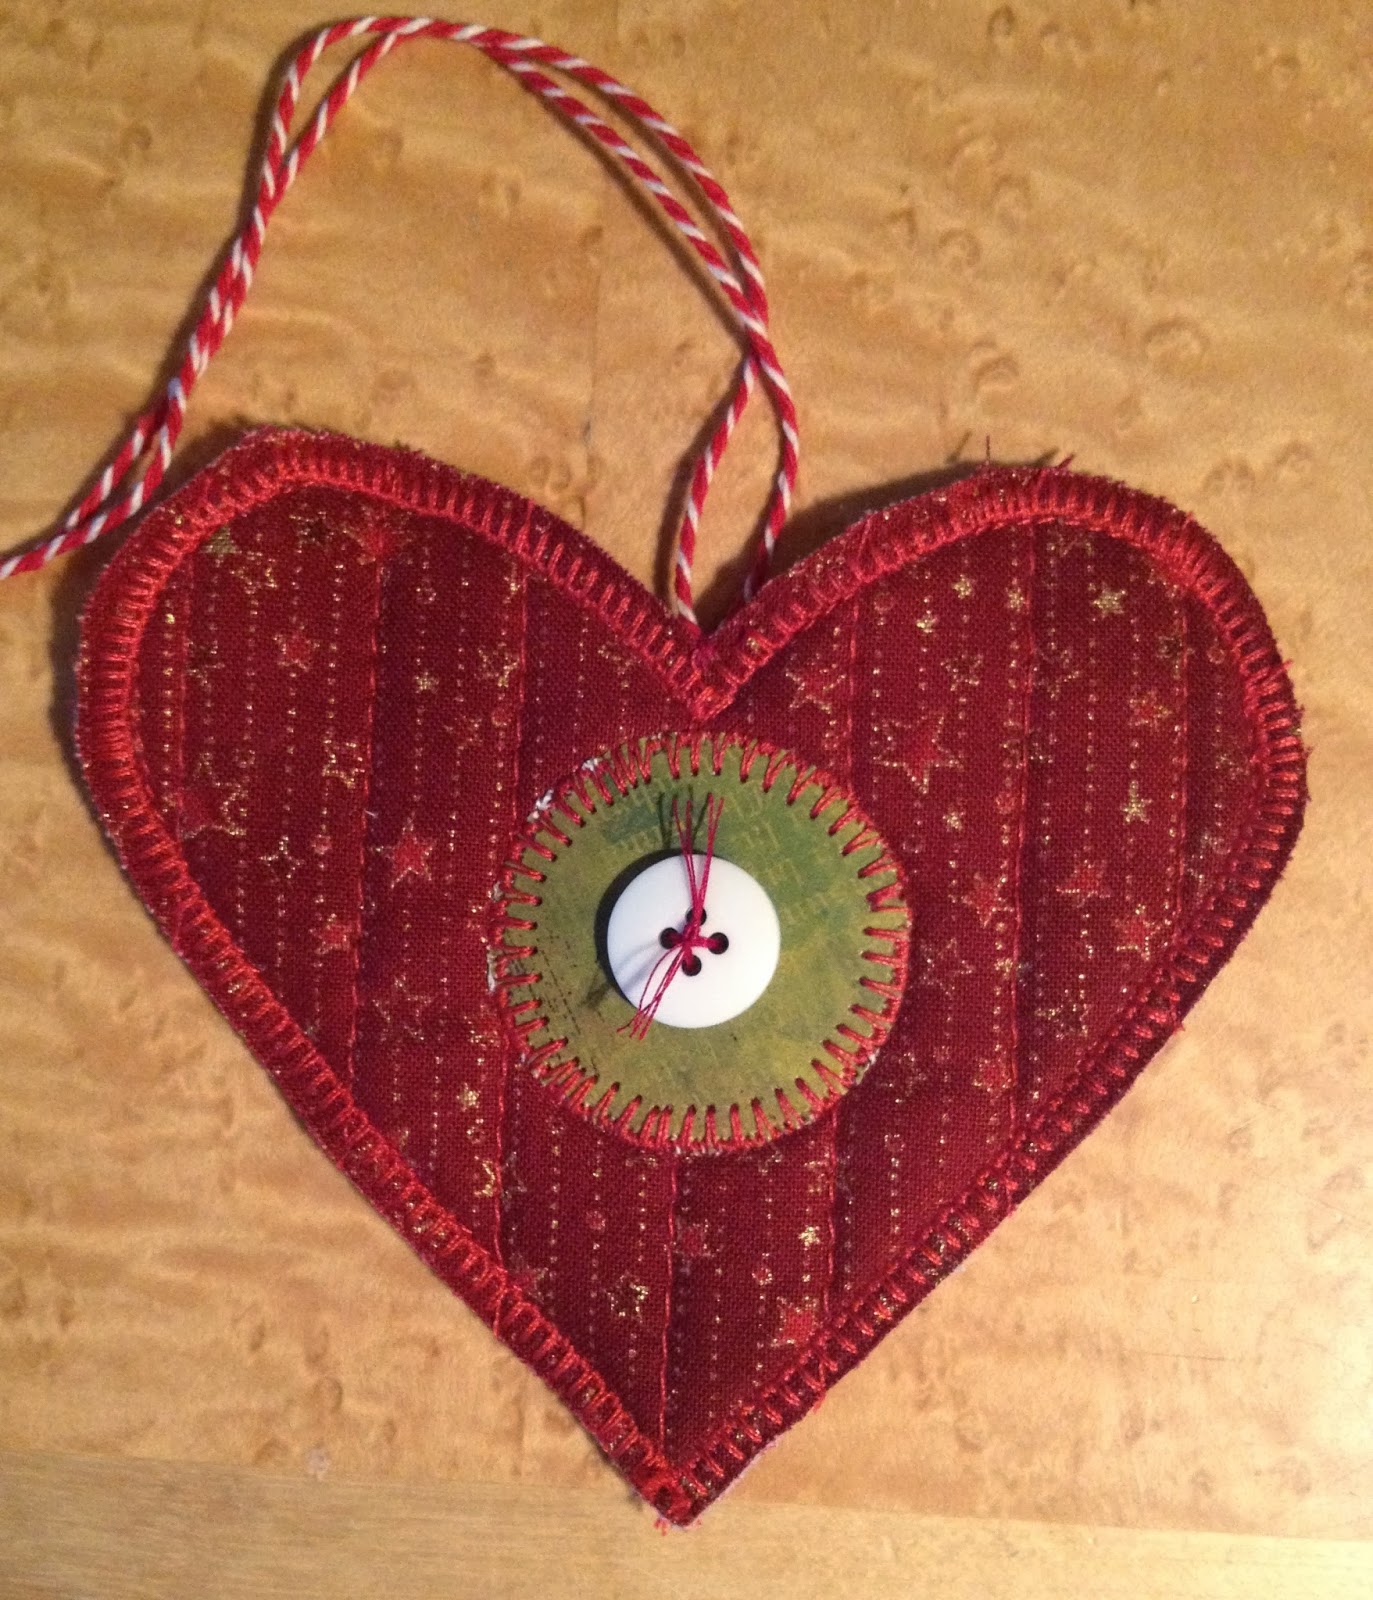
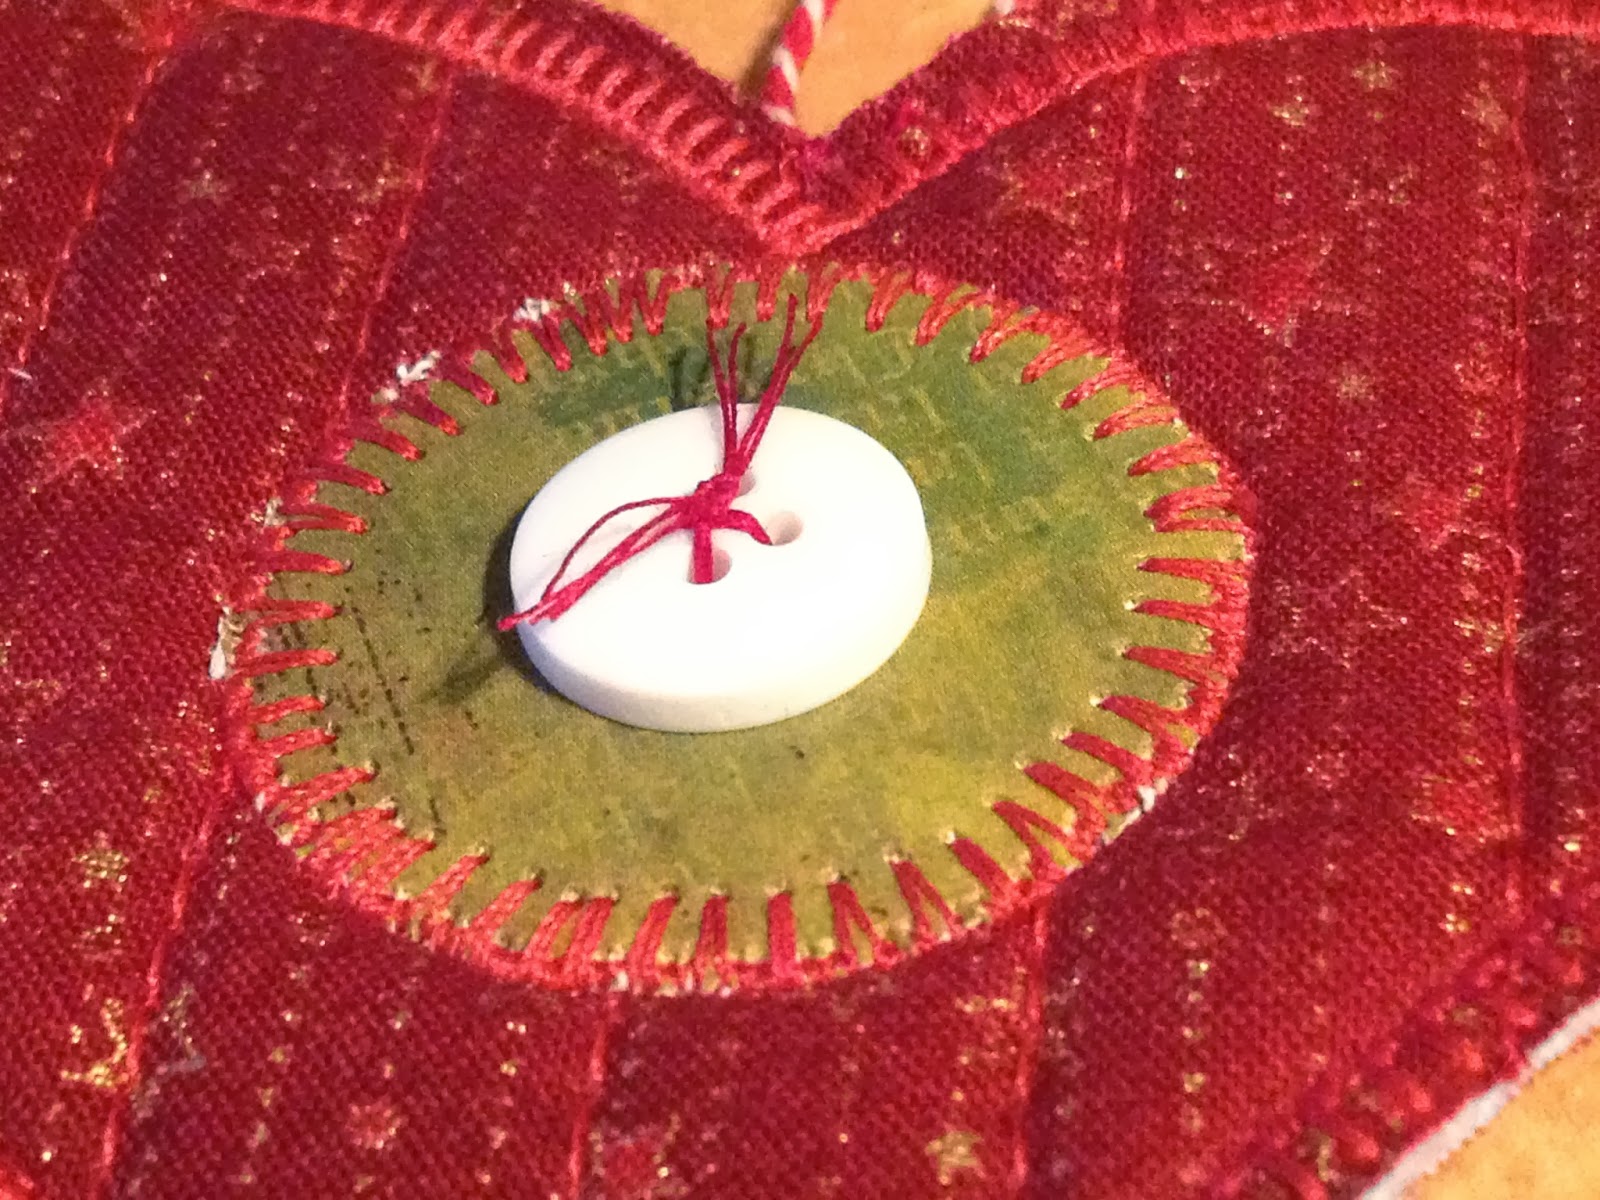
This fourth catching-up-on-Christmas-sewing post is about these mixed media Quilted Heart ornaments which I made for a good friend of mine. They were finished late in the evening before her pre-Christmas lunch, so the pictures are taken in artificial light.
The hearts are made from the same quilted material used for the stocking and the quilted heart trimmings on the cards.
I can recommend making such a piece of quilted material in front of the holidays; you can find so many ways to use it for various projects.
Add a little of this and a little of that and off you go.
I have posted a tutorial on how to make these quilted heart ornaments here in case you would like to make some for Christmas, or Valentines, or just because.
I never had time to finish the hearts that I stitched for this tutorial, so I’ll have a head start on my Christmas projects this year. Not bad for someone being this late posting her Christmas projects:)
Enjoy!
I fell so much in love with the colours and textures of the New Traditions Christmas cards, that I did not want to put the fabrics away when the cards were finished.
With a little one around the house for Christmas, I knew that I did not want to have a table cloth on the coffee table, and therefore a couple of new table runners would be nice.
I added a few more fabrics to the mix, a green burlap and a gorgeous red wool boucle, left out the wall paper, and cut a bunch of circles using the AccuQuilt cutter. I have two circular dies, one with a 5”, a 3” and a 2”, and the other with 8 2” circles. I love those dies!
The two backgrounds were layered with batting and backing, and quilted with wavy lines, full speed ahead (this is the proper green colour).
The circles were then arranged onto the backgrounds, fused in place, and stitched down with zigzag stitching. All those thread tails took forever to bury, even with the magic needles.
The hardest part was choosing the binding fabric without having to search through, and mess up, loads and loads of boxes that had already been stored away for the holidays, but I went for a bubbly black and green print which I thought added something to the overall look.
“Humble beginnings 1 and 2” were finished the evening before my parents came to stay for the holidays, and No1 adorned the coffee table, totally spotless through the festivities.
I’m not sure they can take machine washing, so I’ll admit to watching a bit extra over the table during coffee time...
Thanks for stopping by!
Day two of my catching-up-on-Christmas-projects-posts is all about the cards. Some of you may know that I make quilted Christmas cards for friends and family, and 2013 was no exception (WIP post here) (more cards here).
Since I’m not much of a traditionalist when it comes to my creative adventures, I thought it would be interesting to work with traditional Christmas colours and motifs – read, green, white and hearts.
My materials of choice may not have been too traditional, but still, my little army of cards is nodding rather politely to Christmases past I’d say.
As usual, lighting has been a challenge through the process, but here they are, “New Traditions 1-40”.
Background: velvety taffeta curtain from thrift shop layered with batting and backing (spray basted), cut into 4 ½” wide (5”??) strips, narrow vertical strip of gorgeous linen scrap appliquéd to the centre, cut into squares, and zigzag stitched around the edges.
Trimmings: small square of thrifted hand woven linen cloth
thrifted wallpaper heart cut freehand with scissors
quilted heart cut freehand from material leftover from stocking posted here
free motion stitched to the background involving quite a bit of muscles, tugging and needle changing.
and for hanging: ornament loops slipped in between the layers
Even though not an obvious Christmas green, the taffeta is not greyish at all as the added white will prove.
Despite careful measuring, one card ended up ¼” too short, and I didn’t even notice until I lined them all up for photographing. Oh well, never mind.
This year I will probably go back to the rectangular format as these would not fit into the standard small envelopes, but the cards of 2013 just had to be square.
These would make great Valentine cards or even birthday cards as well, don’t you think? I'll be adding this post to my tutorial page in case you would like to revisit it later.
Thanks for stopping by!
It feels a bit odd writing about Christmas projects in January, but I have to get over it and just do it, so here we go.
A family member wanted a stocking and I couldn’t say no even though I was running low on time, so I had to keep it simple. I knew I could use some extra quilted material for other projects, so I folded approx half a yard of fabric with a layer of blue IKEA fleece in the middle, and quilted straight lines using my walking foot. The fabric had lines in it, so it was ever so fast.
For some reason, I never remember to save my stocking templates so I need to reinvent the wheel every time. Sometimes I use a finished stocking as a template, but they were still safely stored away with the rest of the Christmas decorations, so this one had to be made by eye.
It turned out a bit on the skimpy side compared to the rest of the stockings, but I’m sure the owner doesn’t mind. It has a couple of scrappy appliquéd hearts,
a fleece edge leftover from another project, and a piece of draw string from The Gym Bag for hanging.
There you go, one super simple Christmas stocking.
Thanks for stopping by!
When our daughter was young, we would host Christmas workshops through December. Craft materials used to occupy the dining room table for weeks on end (very much like my quilting stuff do now), but when we moved into this house, there was room for a big table in our daughter’s room.
Through the years, we have had so much fun with friends and family of all ages, and many colourful creations came to life on cold winter days. Our tradition was naturally brought to an end as she grew up and didn’t really love crafting anymore, so I absolutely love when we get together for anything creative whether it may be making cards or painting furniture. Imagine my delight when she wished for fabric hearts to hang in her windows – and that we would be making them together!
So last Wednesday I rigged the dining room table with two sewing machines and Christmassy fabrics, and we went to work.
People who don’t usually sew do often get surprised by the amount of work that goes into even simple ornaments, don’t they, so after a while we set up our own little assembly line, cranking out happy, fluffy, puffy hearts by the minute.
Time ran away from us, but she left with 8 finished hearts with which she was very pleased indeed.
The next day I made the 9th heart she needed,
and finished the two I had been working on pre assembly line.
I think they will make a sweet little gift, don’t you?
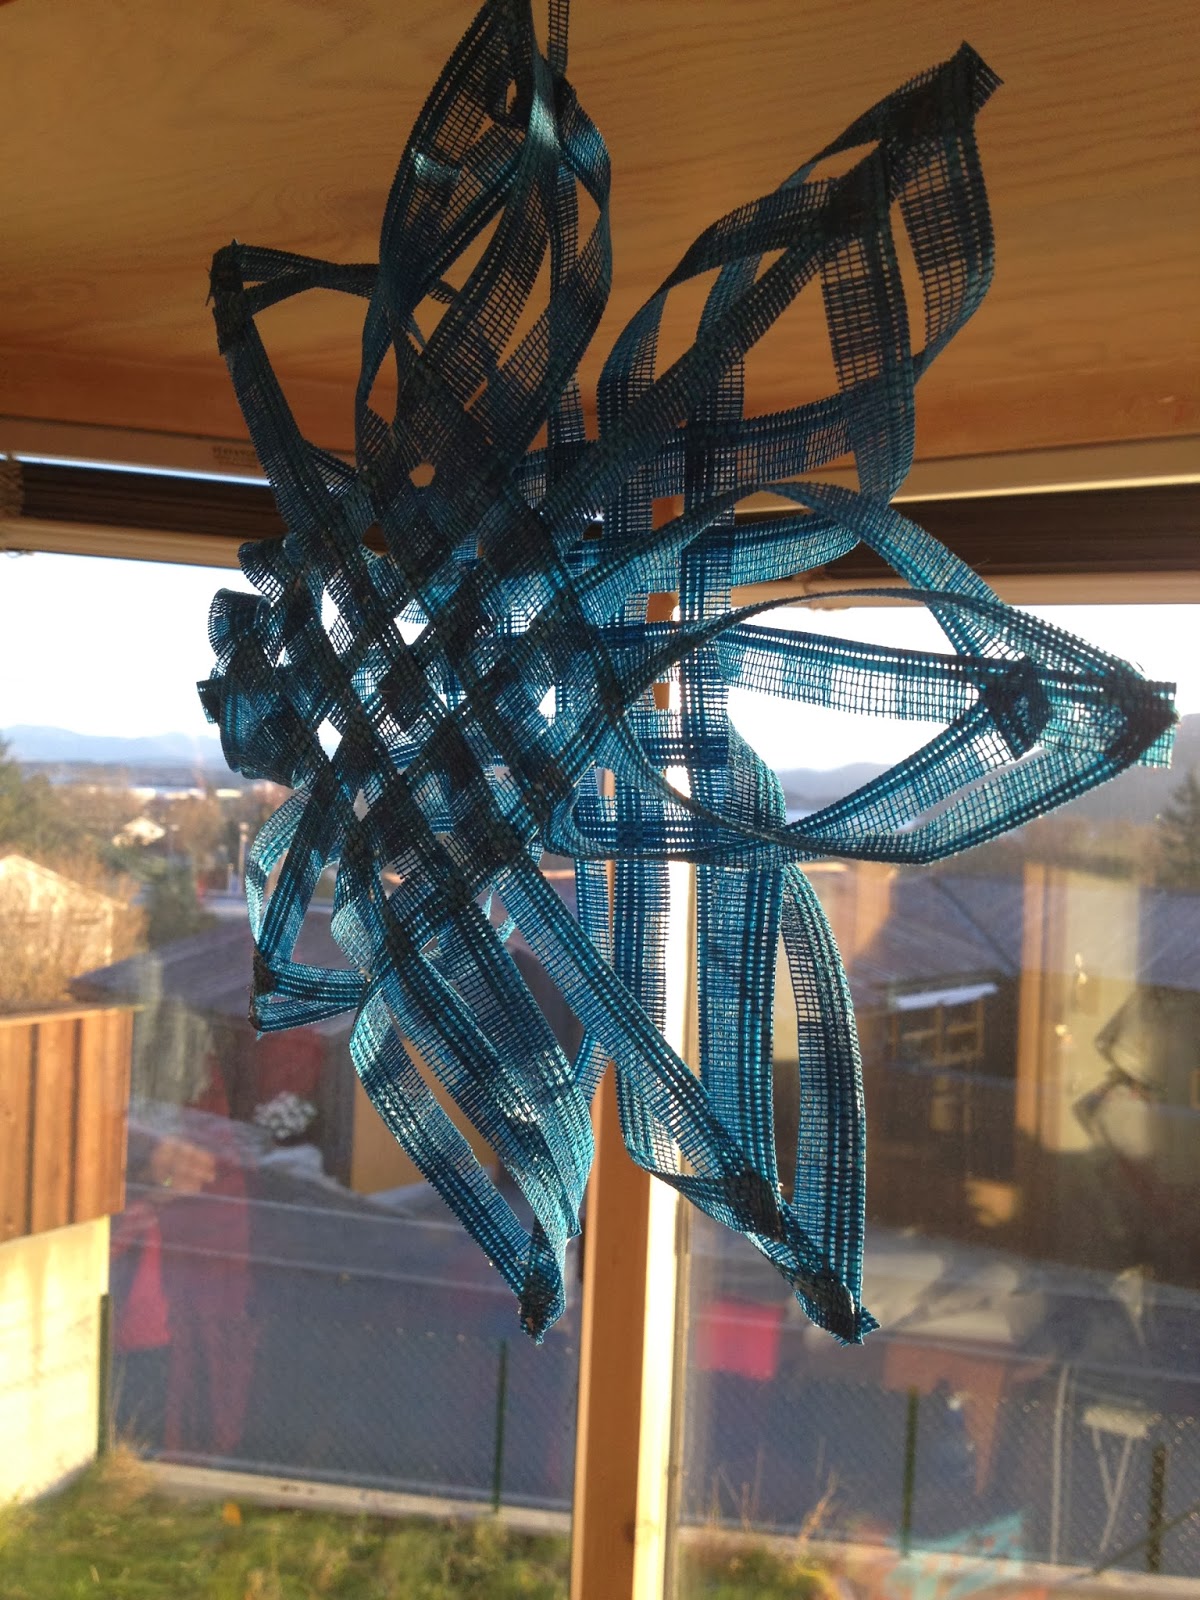
A Sunday evening adventure started with this.
Well, actually it started on Saturday when I was browsing through the thrift store and spotted two off-cuts of IKEA panel curtains.
What to do, what to do with them. Hm, well, a fellow guild member of mine had made some cute woven fabric stars; I wonder how this material will weave out.
Some chop, chop, chop, and glue, glue, glue later and I got this.
My white glue says it dries clear. Right, I indeed hope so. Glue everywhere. What is the deal with glue and me, we are certainly not always on friendly terms?
It still looks quite fab, I’d say
even with glue everywhere
and when the sun shines through it, it’s clear enough.
Don’t you think?
You’ll find several tutorials for the woven star at House Revivals here; next time I’ll use a glue-proof material.
Thanks for stopping by!

.JPG)



.JPG)
.JPG)
.JPG)
.JPG)
.JPG)
.JPG)
.JPG)
.JPG)
.JPG)


.JPG)


.JPG)


.JPG)
.JPG)
.JPG)
.PNG)
.JPG)
.JPG)
.JPG)
.JPG)
.JPG)